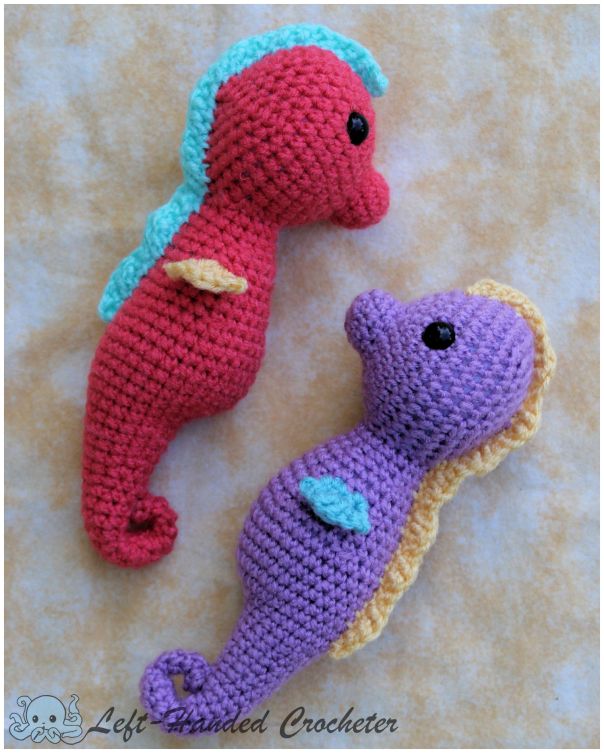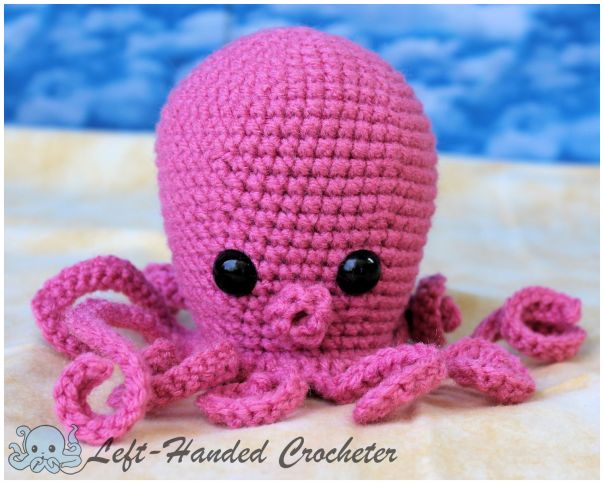
These little squids are part of a fun set I just did called Under the Sea. This finished pattern measures approximately 5 inches tall.
If you want a pattern that you can save on your computer and easily print, this pattern is available in my Ravelry shop for only $2.00. I love printing patterns and saving them in a binder to keep track of the ones I’ve done and the ones I still plan to do.
Abbreviations:
ch: chain
sc: single crochet
sl st: slip stitch
inc: increase (2 single crochets in one loop)
dec: decrease (pull yarn through loop, pull yarn through second loop, yarn over and pull through all loops)
Materials needed:
Any worsted weight yarn. I used Red Heart Super Saver.
G (4mm) crochet hook
Poly-fil
Yarn needle
15mm safety eyes
Embroidery thread (optional)
This pattern is worked “in-the-round”, and stitches are worked through both loops unless otherwise noted.
Bottom:
With buff yarn, ch 3. Sl st to first ch to create circle. (Instead, you can perform the “magic circle” if you’d like.)
Row 1: ch 1, 10 sc inside of circle. (10 stitches)
Row 2: *Inc in first stitch, sc in next stitch, repeat from * around. (15 stitches)
Row 3: *Inc in first stitch, sc in next 2 stitches, repeat from * around. (20 stitches)
Row 4: *Inc in first stitch, sc in next 3 stitches, repeat from * around. (25 stitches)
Row 5: *Inc in first stitch, sc in next 4 stitches, repeat from * around. (30 stitches)
Tie off.
Body:
With pink yarn, ch 3. Sl st to first ch to create circle. (Instead, you can perform the “magic circle” if you’d like.)
Row 1: ch 1, 5 sc inside of circle. (5 stitches)
Row 2: Inc in each stitch around. (10 stitches)
Row 3: *Inc in first stitch, sc in next stitch, repeat from * around. (15 stitches)
Row 4: *Inc in first stitch, sc in next 2 stitches, repeat from * around. (20 stitches)
Row 5: *Inc in first stitch, sc in next 3 stitches, repeat from * around. (25 stitches)
Row 6: *Inc in first stitch, sc in next 4 stitches, repeat from * around. (30 stitches)
Row 7: *Inc in first stitch, sc in next 5 stitches, repeat from * around. (35 stitches)
Row 8: *Inc in first stitch, sc in next 6 stitches, repeat from * around. (40 stitches)
Row 9: *Inc in first stitch, sc in next 7 stitches, repeat from * around. (45 stitches)
Row 10: *Inc in first stitch, sc in next 8 stitches, repeat from * around. (50 stitches)
Rows 11-13: Sc in each stitch around. (50 stitches)
Row 14: *Dec in first 2 stitches, sc in next 8 stitches, repeat from * around. (45 stitches)
Rows 15-16: Sc in each stitch around. (45 stitches)
Row 17: *Dec in first 2 stitches, sc in next 7 stitches, repeat from * around. (40 stitches)
Rows 18-19: Sc in each stitch around. (40 stitches)
Row 20: *Dec in first 2 stitches, sc in next 6 stitches, repeat from * around. (35 stitches)
Rows 21-22: Sc in each stitch around. (35 stitches)
Row 23: *Dec in first 2 stitches, sc in next 5 stitches, repeat from * around. (30 stitches)
Rows 24-25: Sc in each stitch around. (30 stitches)
Don’t tie off. Insert safety eyes between rows 20 and 21 with 6 stitches in between. Stuff tight with poly-fil.
Place bottom over opening and sc around with pink yarn to close. Sl st to first stitch. (30 stitches) Don’t tie off.


To make the tentacles, *ch 20. Work 2 sc’s in each of the first 5 ch’s, sc in the remaining ch’s. Sc in the next 2 stitches. Repeat from * around. (See photos)


You should end up with 10 tentacles. If you’d like, you can make 2 longer ones on each side and skip curling them at the ends.
Mouth (optional):
With pink yarn, ch 3. Sl st to first ch to create circle. (Instead, you can perform the “magic circle” if you’d like.)
Row 1: ch 1, 5 sc inside of circle. (5 stitches)
Rows 2-3: Sc in each stitch around. (5 stitches)
Tie off. Position and sew onto face. You could also just sew a mouth on with black embroidery thread.


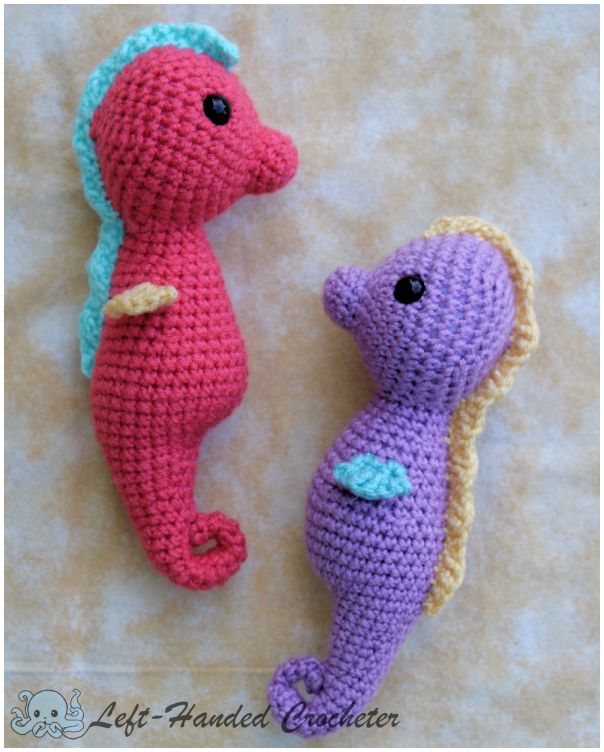
If you want to pick up the whole Under the Sea set, you can get it in my Ravelry shop. Check out the other cute animals and mermaids that you can make with this set.

I hope you enjoy this pattern! You’re welcome to sell items that you make using my patterns, as long as you don’t post the pattern anywhere else, and link back to my page if you’d like to. If there are any mistakes, or something is unclear, please feel free to message me on Facebook. If you create any squids of your own, be sure to post a photo on my Facebook page so I can see. I love seeing all of the things people are creating, and I’d love to see the different variations that people make of these.