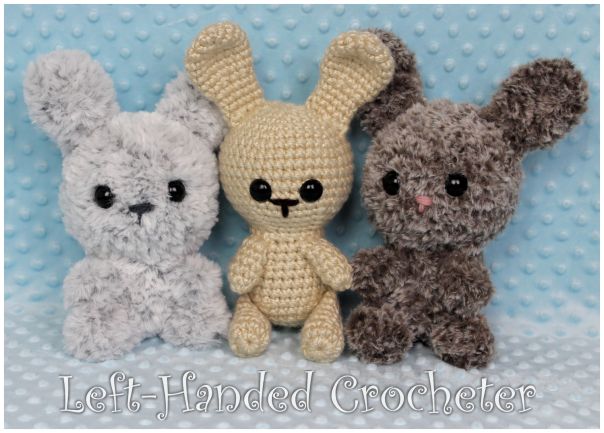
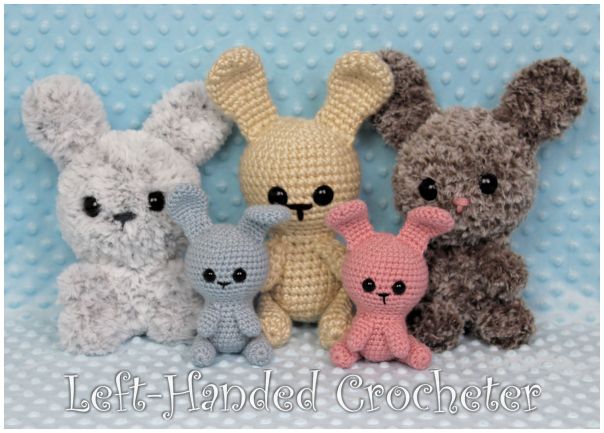
Nothing says spring like a cute, little bunny. This pattern was designed using size 6 bulky yarn, and the finished bunny measures approximately 9½-10 inches tall. It can be made with any yarn, though. I used 3 different yarns to make my spring bunnies.
If you want a pattern that you can save on your computer and easily print, this pattern is available in my Ravelry shop. I love printing patterns and saving them in a binder to keep track of the ones I’ve done and the ones I still plan to do.
Abbreviations:
ch: chain
sc: single crochet
sl st: slip stitch
inc: increase (2 single crochets in one loop)
dec: decrease (pull yarn through loop, pull yarn through second loop, yarn over and pull through all loops)
Materials needed:
Any size 6 bulky yarn. I used Lion Brand Go For Faux in Chinchilla and Bear, and Lion Brand Hometown USA in Los Angeles Tan.
I (5.5mm) crochet hook
Poly-fil
Yarn needle
20mm safety eyes
Yarn or embroidery thread for the nose
This pattern is worked “in-the-round”, and stitches are worked through both loops unless otherwise noted.
Head:
Ch 3. Sl st to first ch to create circle. (Instead, you can perform the “magic circle” if you’d like.)
Row 1: ch 1, 10 sc inside of circle. (10 stitches)
Row 2: *Inc in first stitch, sc in next stitch, repeat from * around. (15 stitches)
Row 3: *Inc in first stitch, sc in next 2 stitches, repeat from * around. (20 stitches)
Row 4: *Inc in first stitch, sc in next 3 stitches, repeat from * around. (25 stitches)
Row 5: *Inc in first stitch, sc in next 4 stitches, repeat from * around. (30 stitches)
Row 6: *Inc in first stitch, sc in next 5 stitches, repeat from * around. (35 stitches)
Row 7: *Inc in first stitch, sc in next 6 stitches, repeat from * around. (40 stitches)
Rows 8-13: Sc in each stitch around. (40 stitches)
Row 14: *Dec in first 2 stitches, sc in next 6 stitches, repeat from * around. (35 stitches)
Row 15: *Dec in first 2 stitches, sc in next 5 stitches, repeat from * around. (30 stitches)
Row 16: *Dec in first 2 stitches, sc in next 4 stitches, repeat from * around. (25 stitches)
Row 17: *Dec in first 2 stitches, sc in next 3 stitches, repeat from * around. (20 stitches)
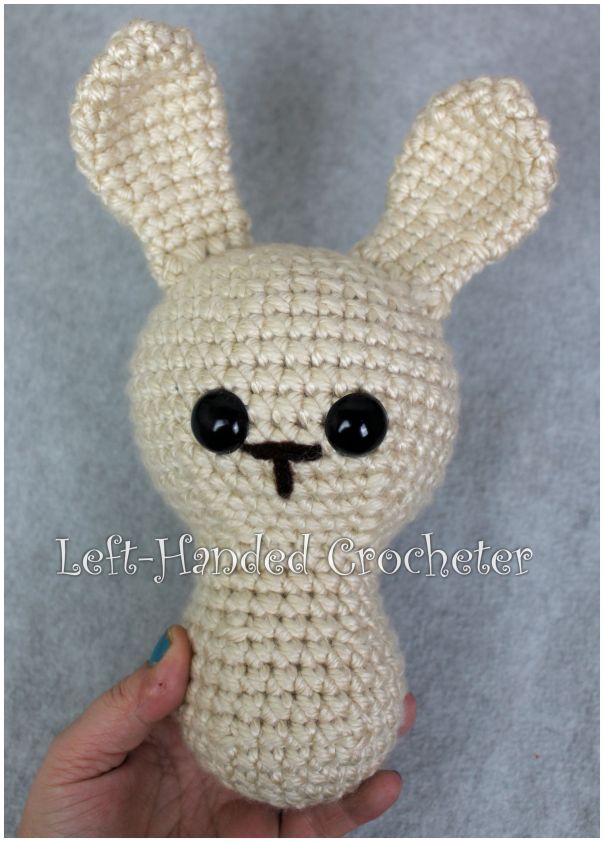
Tie off. Stuff tight with poly-fil. Insert safety eyes between rows 11 and 12 with 5 stitches between them. Sew on a nose with yarn or embroidery thread.
Ears:
Ch 3. Sl st to first ch to create circle. (Instead, you can perform the “magic circle” if you’d like.)
Row 1: ch 1, 5 sc inside of circle. (5 stitches)
Row 2: Inc in each stitch around. (10 stitches)
Row 3: *Inc in first stitch, sc in next stitch, repeat from * around. (15 stitches)
Rows 4-8: Sc in each stitch around. (15 stitches)
Row 9: *Dec in first 2 stitches, sc in next stitch, repeat from * around. (10 stitches)
Rows 10-12: Sc in each stitch around. (10 stitches)
Tie off. Make two. Pin ears onto top of head, making sure they’re in the right spot, then sew on.


Body:
Ch 3. Sl st to first ch to create circle. (Instead, you can perform the “magic circle” if you’d like.)
Row 1: ch 1, 10 sc inside of circle. (10 stitches)
Row 2: *Inc in first stitch, sc in next stitch, repeat from * around. (15 stitches)
Row 3: *Inc in first stitch, sc in next 2 stitches, repeat from * around. (20 stitches)
Row 4: *Inc in first stitch, sc in next 3 stitches, repeat from * around. (25 stitches)
Row 5: *Inc in first stitch, sc in next 4 stitches, repeat from * around. (30 stitches)
Row 6: *Dec in first 2 stitches, sc in next 4 stitches, repeat from * around. (25 stitches)
Rows 7-9: Sc in each stitch around. (25 stitches)
Row 10: *Dec in first 2 stitches, sc in next 3 stitches, repeat from * around. (20 stitches)
Rows 11-12: Sc in each stitch around. (20 stitches)
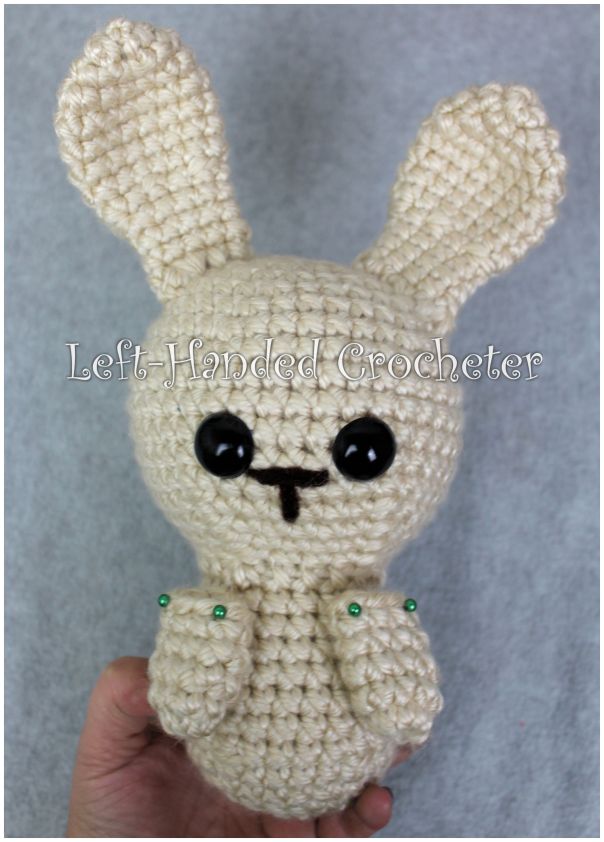
Tie off. Stuff tight with poly-fil. Sew head onto body. Stop before you close it up, and insert more poly-fil to reinforce the neck.
Arms:
Ch 3. Sl st to first ch to create circle. (Instead, you can perform the “magic circle” if you’d like.)
Row 1: ch 1, 8 sc inside of circle. (8 stitches)
Rows 2-5: Sc in each stitch around. (8 stitches)
Tie off. Don’t stuff. Pin to body around row 11, making sure they’re in the spot you want them. Sew on.
Legs:
Ch 3. Sl st to first ch to create circle. (Instead, you can perform the “magic circle” if you’d like.)
Row 1: ch 1, 10 sc inside of circle. (10 stitches)
Row 2: *Inc in first stitch, sc in next stitch, repeat from * around. (15 stitches)
Row 3: *Dec in first 2 stitches, sc in next stitch, repeat from * around. (10 stitches)
Rows 4-8: Sc in each stitch around. (10 stitches)
Tie off. Stuff tight with poly-fil, leaving the top 2-3 rows unstuffed. Pin legs onto side of body, making sure they’re where you want them. Sew on.


Tail:
Ch 3. Sl st to first ch to create circle. (Instead, you can perform the “magic circle” if you’d like.)
Row 1: ch 1, 8 sc inside of circle. (8 stitches)
Rows 2: Sc in each stitch around. (8 stitches)
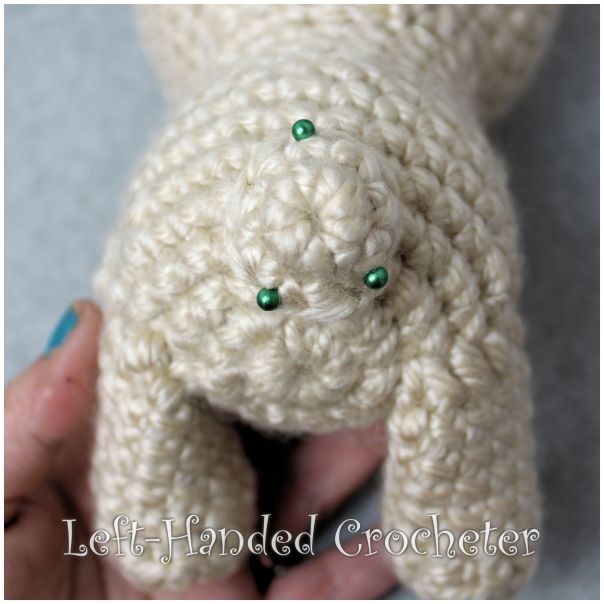
Tie off. Don’t stuff. Pin to back of body, making sure it’s where you want it. Sew on.


The Go For Faux yarn is kind of tough to work with because you can’t see the stitches. On the plus side, that means you can’t see if you’ve messed it up. Take it one row at a time, and be sure to use stitch markers and count your stitches in each row. It makes such cute, soft, fluffy bunnies that it’s totally worth the extra work.


You can also make these bunnies with worsted weight yarn. I used Lion Brand Vanna’s Choice in pink and silver blue. Use a G(4mm) hook, and 12mm eyes. These finished bunnies are approximately 6-6½ inches tall.
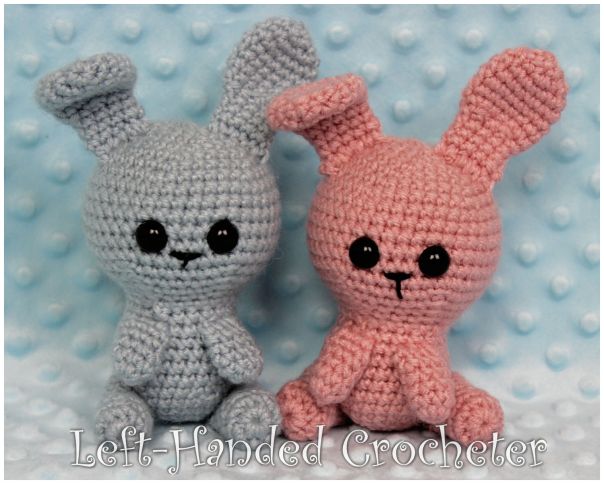


I hope you enjoy this pattern! You’re welcome to sell items that you make using my patterns, as long as you don’t post the pattern anywhere else, and link back to my page if you’d like to. If there are any mistakes, or something is unclear, please feel free to message me on Facebook.


They are SO CUTE!!