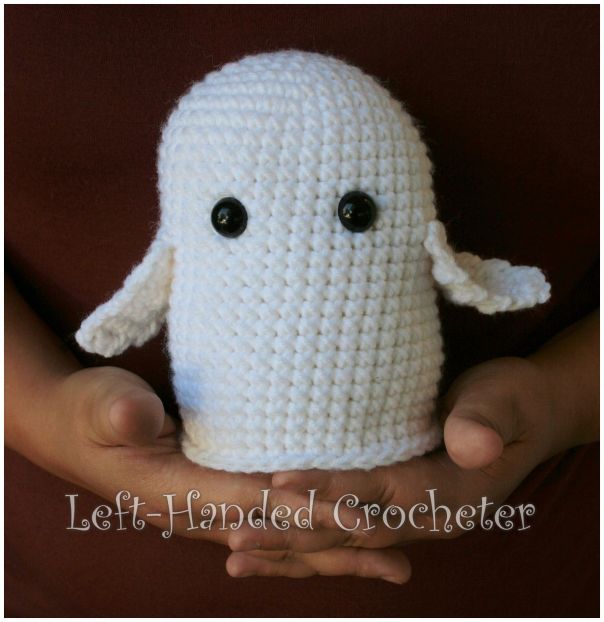
Christmas is my favorite holiday. This time of the year, I start thinking about Christmas presents that I want to make for people, and Christmas decorations that I can create patterns for. But I have a couple of daughters who love Halloween so much, and they hate it when I’m already focusing on Christmas this early in the fall. So I wanted to do a quick project for Halloween. I was thinking something fairly simple that could be completed easily in 1 day. This little ghost popped into my head.
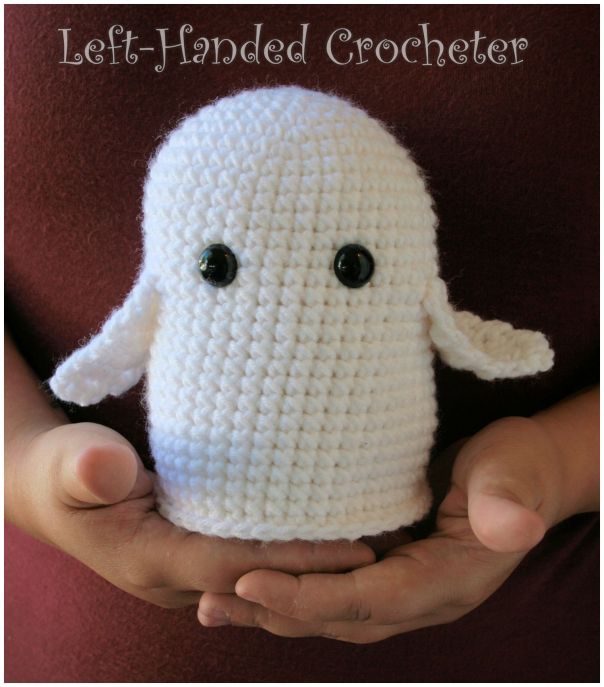
This really is a simple and quick pattern, and it doesn’t use a lot of materials. I actually used some leftover yarn that I had here from a hat that I made years ago. I’ve got a lot of safety eyes, including googly safety eyes, but I hadn’t found the perfect project for them yet. So I made 2 ghosts, one for my grandson and one for my daughter.

Of course, you could also just embroider eyes on with thread or black yarn. So here’s a quick weekend project for you to make in the spirit of Halloween.
Abbreviations:
ch: chain
sc: single crochet
inc: increase (2 single crochets in one loop)
dec: decrease (pull yarn through loop, pull yarn through second loop, yarn over and pull through all loops)
Materials needed (with affiliate links):
Any worsted weight yarn. Red Heart yarns work well for stuffies, although I think this leftover yarn I used was Big Twist.
Black embroidery thread or yarn (if you choose to do a mouth)
This pattern is worked “in-the-round”, and stitches are worked through both loops unless otherwise noted.
Body:
ch 3. Sl st to first ch to create circle. (Instead, you can perform the “magic circle” if you’d like.)
Row 1: ch 1, 10 sc inside of circle. (10 stitches)
Row 2: *Inc in first stitch, sc in next stitch , repeat from * around. (15 stitches)
Row 3: *Inc in first stitch, sc in next 2 stitches, repeat from * around. (20 stitches)
Row 4: *Inc in first stitch, sc in next 3 stitches, repeat from * around. (25 stitches)
Row 5: *Inc in first stitch, sc in next 4 stitches, repeat from * around. (30 stitches)
Row 6: *Inc in first stitch, sc in next 5 stitches, repeat from * around. (35 stitches)
Row 7: *Inc in first stitch, sc in next 6 stitches, repeat from * around. (40 stitches)
Rows 8-27: Sc in each stitch around. (40 stitches)
Tie off, leaving open at the bottom.
Bottom:
ch 3. Sl st to first ch to create circle. (Instead, you can perform the “magic circle” if you’d like.)
Row 1: ch 1, 10 sc inside of circle. (10 stitches)
Row 2: *Inc in first stitch, sc in next stitch , repeat from * around. (15 stitches)
Row 3: *Inc in first stitch, sc in next 2 stitches, repeat from * around. (20 stitches)
Row 4: *Inc in first stitch, sc in next 3 stitches, repeat from * around. (25 stitches)
Row 5: *Inc in first stitch, sc in next 4 stitches, repeat from * around. (30 stitches)
Row 6: *Inc in first stitch, sc in next 5 stitches, repeat from * around. (35 stitches)
Row 7: *Inc in first stitch, sc in next 6 stitches, repeat from * around. (40 stitches)
Tie off
Arm Flaps:
Ch 11
Row 1: Sc in 2nd ch from hook and in each ch across, ch 1, turn. (10 stitches)
Row 2: Sc in each stitch across, ch 1, turn. (10 stitches)
Row 3: Dec in first 2 stitches, sc in next 6 stitches, dec in last 2 stitches, ch 1, turn. (8 stitches)
Row 4: Sc in each stitch across, ch 1, turn. (8 stitches)
Row 5: Dec in first 2 stitches, sc in next 4 stitches, dec in last 2 stitches, ch 1, turn. (6 stitches)
Row 6: Sc in each stitch across, ch 1, turn. (6 stitches)
Row 7: Dec in first 2 stitches, sc in next 2 stitches, dec in last 2 stitches, ch 1, turn. (4 stitches)
Row 8: Sc in each stitch across, ch 1, turn. (4 stitches)
Row 9: Dec in first 2 stitches, dec in last 2 stitches, ch 1, turn. (2 stitches)
Row 10: Sc in each stitch across, tie off. (2 stitches)
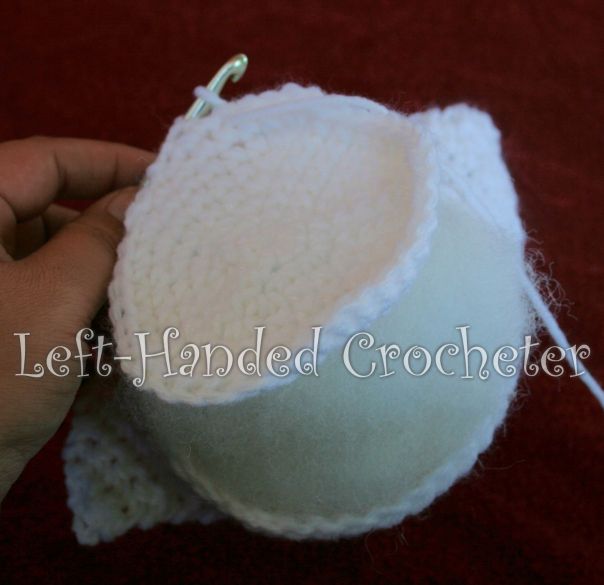
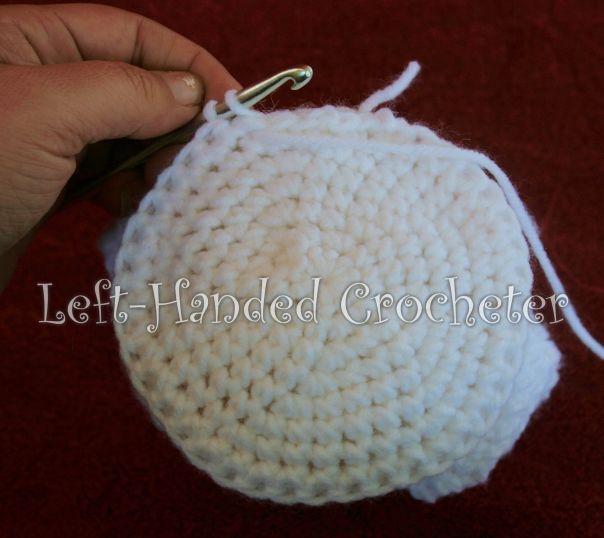
Attach eyes and stuff body with poly-fil. With the bottom facing you, sc around the bottom, sewing it onto the body.
Position the arm flaps and sew onto the body using your yarn needle. You can lay the flaps down flat against the body, or pose them however you want.

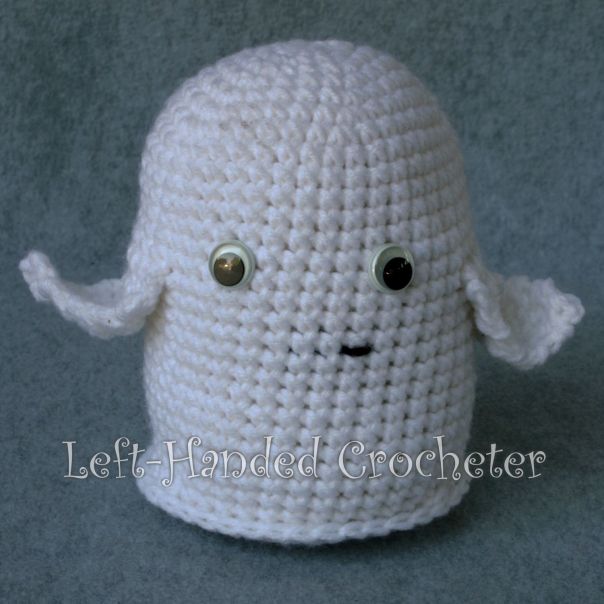
I hope you enjoy this pattern! If there are any mistakes, or something is unclear, please feel free to leave me a comment and let me know. Or message me on Facebook. If you create any ghosts of your own, be sure to post a photo on my Facebook page so I can see. I love seeing all of the things people are creating, and I’d love to see the different ways that people make these. Happy Halloween!

