
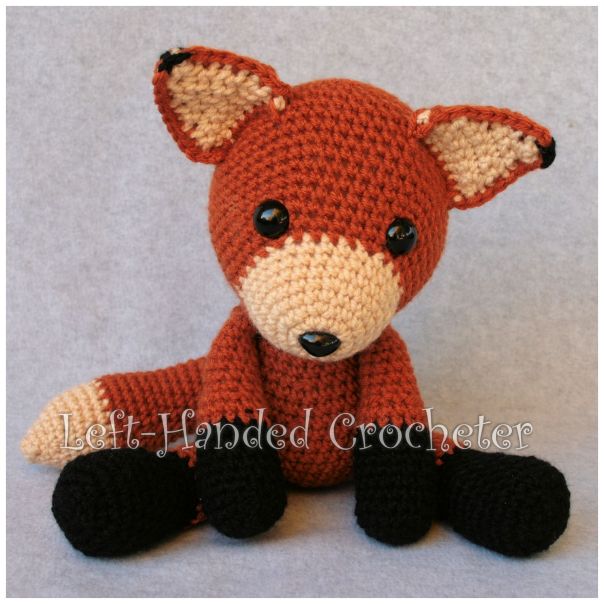
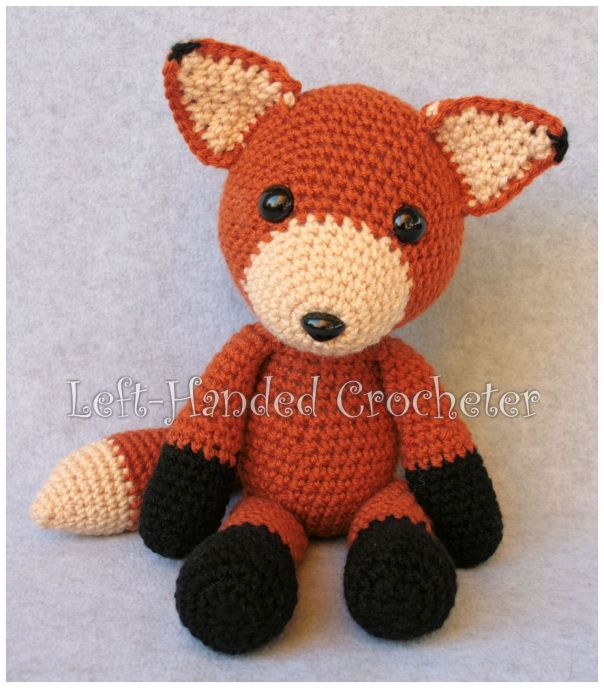
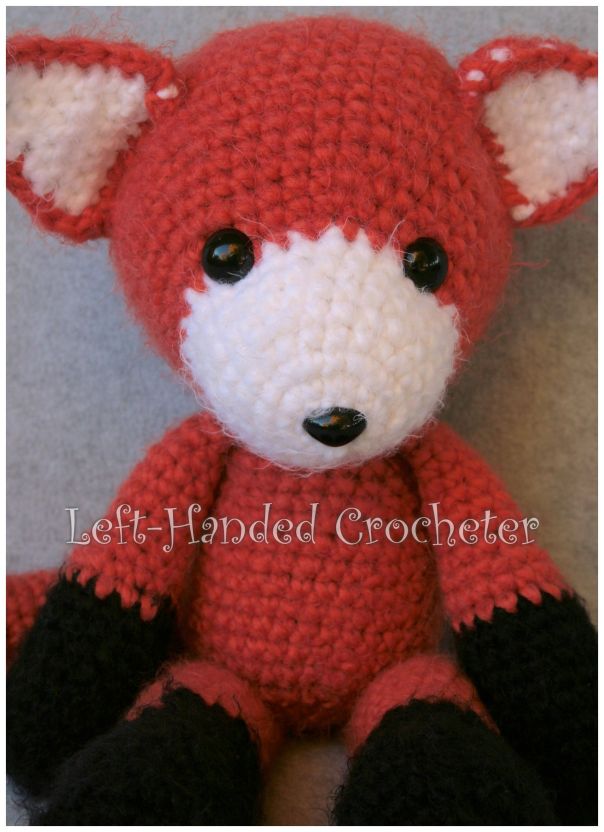
Foxes are such cute animals, and I know there are a lot of fox patterns out there because of how popular they’ve become. I wanted to make one for my daughter, and decided I’d rather write up my own pattern so I could make it as big and as floppy as I wanted it to be. The finished fox is about 15 inches from the tip of his toe to the top of his ears, although the size is different depending on what kind of yarn you use.

I do love how he turned out. You could also add some eyelashes and maybe a bow on its head to make it into a girl fox if you’d like. This one, though, is Freddy. And here’s his pattern.
If you want a pattern that you can save on your computer and easily print, this pattern is available in my Ravelry shop for only $2.00. I love printing patterns and saving them in a binder to keep track of the ones I’ve done and the ones I still plan to do.
Abbreviations:
ch: chain
sc: single crochet
sl st: slip stitch
inc: increase (2 single crochets in one loop)
dec: decrease (pull yarn through loop, pull yarn through second loop, yarn over and pull through all loops)
Materials needed (with affiliate links):
Lion Brand Vanna yarn in beige, black and rust.
20mm safety nose (you can sew a nose on if need be)
This pattern is worked “in-the-round”, and stitches are worked through both loops unless otherwise noted.
Head:
With beige yarn, ch 3. Sl st to first ch to create circle. (Instead, you can perform the “magic circle” if you’d like.)
Row 1: ch 1, 10 sc inside of circle. (10 stitches)
Row 2: *Inc in first stitch, sc in next stitch , repeat from * around. (15 stitches)
Row 3: *Inc in first stitch, sc in next 2 stitches, repeat from * around. (20 stitches)
Row 4: Sc in each stitch around. (20 stitches)
Row 5: *Inc in first stitch, sc in next 3 stitches, repeat from * around. (25 stitches)
Rows 6-8: Sc in each stitch around. (25 stitches) Switch to rust yarn.
Row 9: *Inc in first stitch, sc in next 4 stitches, repeat from * around. (30 stitches)
Row 10: *Inc in first stitch, sc in next 5 stitches, repeat from * around. (35 stitches)
Row 11: *Inc in first stitch, sc in next 6 stitches, repeat from * around. (40 stitches)
Row 12: Sc in each stitch around. (40 stitches)
Row 13: *Inc in first stitch, sc in next 7 stitches, repeat from * around. (45 stitches)
Row 14: Sc in each stitch around. (45 stitches)
Row 15: *Inc in first stitch, sc in next 8 stitches, repeat from * around. (50 stitches)
Rows 16-21: Sc in each stitch around. (50 stitches)
Row 22: *Dec in first 2 stitches, sc in next 8 stitches, repeat from * around. (45 stitches)
Row 23: *Dec in first 2 stitches, sc in next 7 stitches, repeat from * around. (40 stitches)
Row 24: *Dec in first 2 stitches, sc in next 6 stitches, repeat from * around. (35 stitches)
Row 25: *Dec in first 2 stitches, sc in next 5 stitches, repeat from * around. (30 stitches)
Row 26: *Dec in first 2 stitches, sc in next 4 stitches, repeat from * around. (25 stitches)
Row 27: *Dec in first 2 stitches, sc in next 3 stitches, repeat from * around. (20 stitches)
At this point, stuff the head, insert the nose and eyes.
Row 28: *Dec in first 2 stitches, sc in next 2 stitches, repeat from * around. (15 stitches)
Row 29: *Dec in first 2 stitches, sc in next stitch, repeat from * around. (10 stitches)
Row 30: Dec around. (5 stitches)
Sew end shut. Tie off.
Body:
With rust yarn, ch 3. Sl st to first ch to create circle. (Instead, you can perform the “magic circle” if you’d like.)
Row 1: ch 1, 10 sc inside of circle. (10 stitches)
Row 2: *Inc in first stitch, sc in next stitch , repeat from * around. (15 stitches)
Row 3: *Inc in first stitch, sc in next 2 stitches, repeat from * around. (20 stitches)
Row 4: *Inc in first stitch, sc in next 3 stitches, repeat from * around. (25 stitches)
Row 5: *Inc in first stitch, sc in next 4 stitches, repeat from * around. (30 stitches)
Row 6: *Inc in first stitch, sc in next 5 stitches, repeat from * around. (35 stitches)
Row 7: *Inc in first stitch, sc in next 6 stitches, repeat from * around. (40 stitches)
Row 8: *Dec in first 2 stitches, sc in next 6 stitches, repeat from * around. (35 stitches)
Rows 9-11: Sc in each stitch around. (35 stitches)
Row 12: *Dec in first 2 stitches, sc in next 5 stitches, repeat from * around. (30 stitches)
Rows 13-14: Sc in each stitch around. (30 stitches)
Row 15: *Dec in first 2 stitches, sc in next 4 stitches, repeat from * around. (25 stitches)
Rows 16-17: Sc in each stitch around. (25 stitches)
Row 18: *Dec in first 2 stitches, sc in next 3 stitches, repeat from * around. (20 stitches)
Rows 19-20: Sc in each stitch around. (20 stitches)
Tie off.
Ears:
Ch. 9
Row 1: Sc in 2nd ch from hook and in each ch across, ch 1, turn. (8 stitches)
Row 2: Sc in each stitch across, ch 1, turn. (8 stitches)
Row 3: Dec in first 2 stitches, sc in next 4 stitches, dec in last 2 stitches, ch 1, turn. (6 stitches)
Row 4: Sc in each stitch across, ch 1, turn. (6 stitches)
Row 5: Dec in first 2 stitches, sc in next 2 stitches, dec in last 2 stitches, ch 1, turn. (4 stitches)
Row 6: Sc in each stitch across, ch 1, turn. (4 stitches)
Row 7: Dec in first 2 stitches, dec in last 2 stitches, ch 1, turn. (2 stitches)
Row 8: Sc in each stitch across, ch 1, turn. (2 stitches)
Tie off.
Make 2 in beige and 2 in rust. Holding 1 rust piece and 1 beige piece, sc together with rust yarn around edge, leaving bottom unstitched. At the top of each ear, switch to black for 2 of the sc’s. Position and sew onto top of head.
Arms:
With black, ch 3. Sl st to first ch to create circle. (Instead, you can perform the “magic circle” if you’d like.)
Row 1: ch 1, 10 sc inside of circle. (10 stitches)
Row 2: *Inc in first stitch, sc in next stitch , repeat from * around. (15 stitches)
Row 3: *Inc in first stitch, sc in next 2 stitches, repeat from * around. (20 stitches)
Row 4: *Dec in first 2 stitches, sc in next 2 stitches, repeat from * around. (15 stitches)
Rows 5-10: Sc in each stitch around. (15 stitches) Switch to rust.
Rows 11-12: Sc in each stitch around. (15 stitches)
Row 13: *Dec in first 2 stitches, sc in next stitch, repeat from * around. (10 stitches)
Rows 14-21: Sc in each stitch around. (10 stitches)
Tie off.
Legs:
With black, ch 3. Sl st to first ch to create circle. (Instead, you can perform the “magic circle” if you’d like.)
Row 1: ch 1, 10 sc inside of circle. (10 stitches)
Row 2: *Inc in first stitch, sc in next stitch , repeat from * around. (15 stitches)
Row 3: *Inc in first stitch, sc in next 2 stitches , repeat from * around. (20 stitches)
Row 4: *Inc in first stitch, sc in next 3 stitches , repeat from * around. (25 stitches)
Row 5: *Dec in first 2 stitches, sc in next 3 stitches, repeat from * around. (20 stitches)
Rows 6-9: Sc in each stitch around. (20 stitches)
Row 10: *Dec in first 2 stitches, sc in next 2 stitches, repeat from * around. (15 stitches)
Rows 11-13: Sc in each stitch around. (15 stitches) Switch to rust.
Rows 14-23: Sc in each stitch around. (15 stitches)
Row 24: *Dec in first 2 stitches, sc in next stitch, repeat from * around. (10 stitches)
Rows 25-26: Sc in each stitch around. (10 stitches)
Tie off.
Tail:
With beige, ch 3. Sl st to first ch to create circle. (Instead, you can perform the “magic circle” if you’d like.)
Row 1: ch 1, 5 sc inside of circle. (5 stitches)
Row 2: Sc in each stitch around. (5 stitches)
Row 3: Inc in each stitch around. (10 stitches)
Row 4: Sc in each stitch around. (10 stitches)
Row 5: *Inc in first stitch, sc in next stitch , repeat from * around. (15 stitches)
Row 6: Sc in each stitch around. (15 stitches)
Row 7: *Inc in first stitch, sc in next 2 stitches , repeat from * around. (20 stitches)
Rows 8-10: Sc in each stitch around. (20 stitches) Switch to rust.
Rows 11-14: Sc in each stitch around. (20 stitches)
Row 15: *Dec in first 2 stitches, sc in next 2 stitches, repeat from * around. (15 stitches)
Rows 16-30: Sc in each stitch around. (15 stitches)
Tie off.
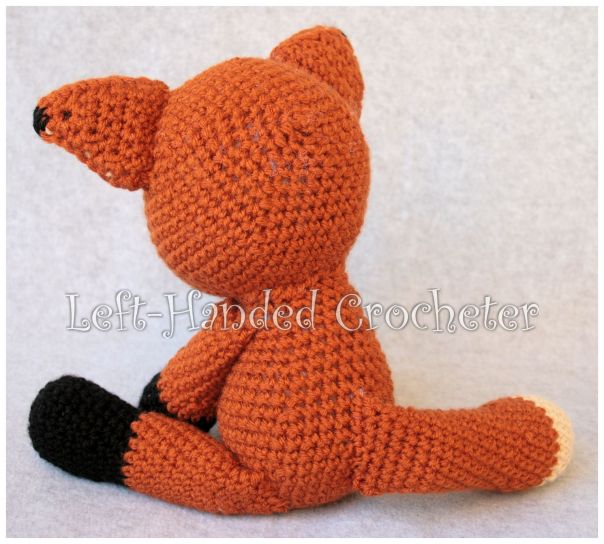
Using yarn needle and rust yarn, sew legs and arms on, then sew tail onto back.
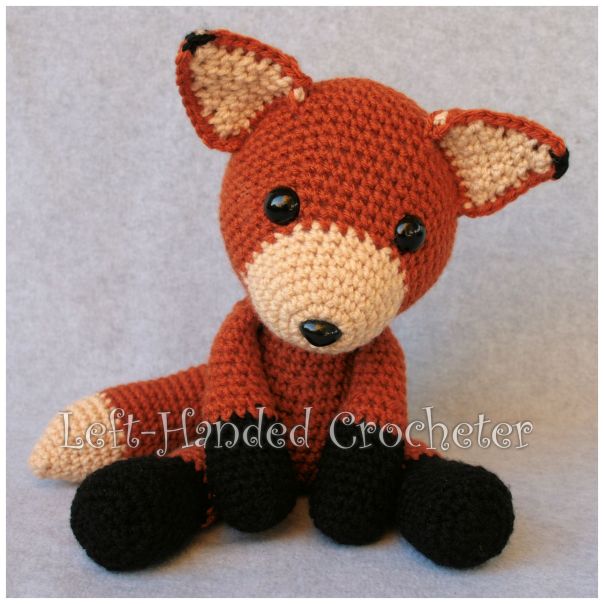
And there you have your finished Freddy the Fox.
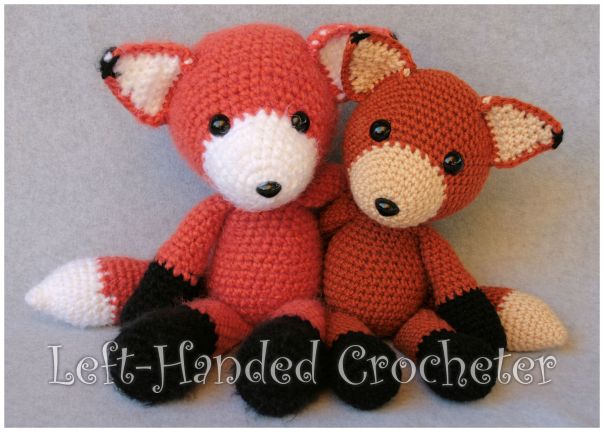
Try making him with different kinds of yarn. I made the one with the Vanna yarn for me, because I like to keep one of each thing that I make. But then I also made one using Buttercream Angel Hair yarn in white, black and pumpkin and a J crochet hook to give to my daughter for Christmas.


The angel hair yarn is much softer and fuzzier, so it’s great for cuddling.
The thicker yarn and bigger hook also made him slightly bigger.
I hope you enjoy this pattern! You’re welcome to sell items that you make using my patterns, as long as you don’t post the pattern anywhere else, and link back to my page if you’d like to. If there are any mistakes, or something is unclear, please feel free to leave me a comment and let me know. Or message me on Facebook. If you create any foxes of your own, be sure to post a photo on my Facebook page so I can see. I love seeing all of the things people are creating, and I’d love to see the different variations that people make of these, especially if you make a girly-looking one.


love these two