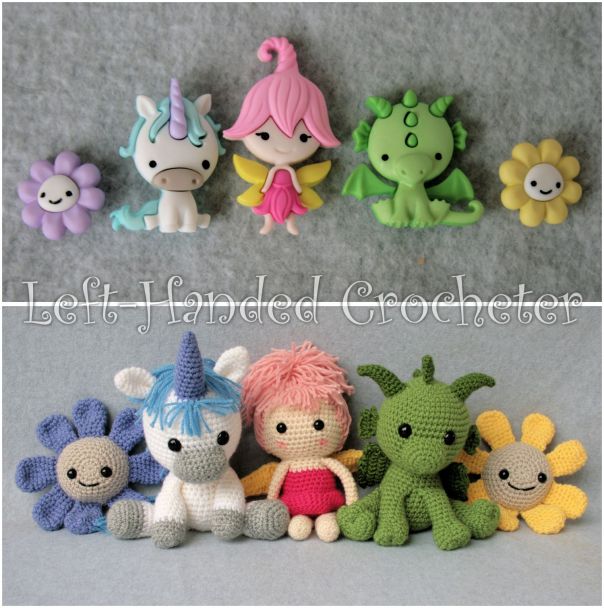
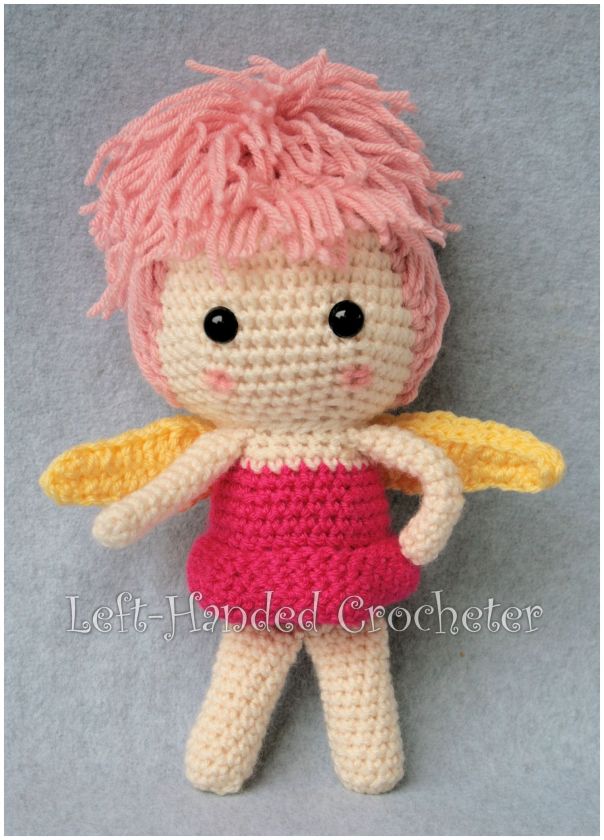
The third pattern in my fairytale series is Poppy the Fairy. If you missed the first post for this series, Stanley the Unicorn, or the second one for Philip the Dragon, go check them out. And don’t forget the pattern for the Flowers.
If you want a pattern that you can save on your computer and easily print, this pattern is available in my Ravelry shop for only $2.00. Or you can get my whole Fairytale Series for only $5.00. I love printing patterns and saving them in a binder to keep track of the ones I’ve done and the ones I still plan to do.
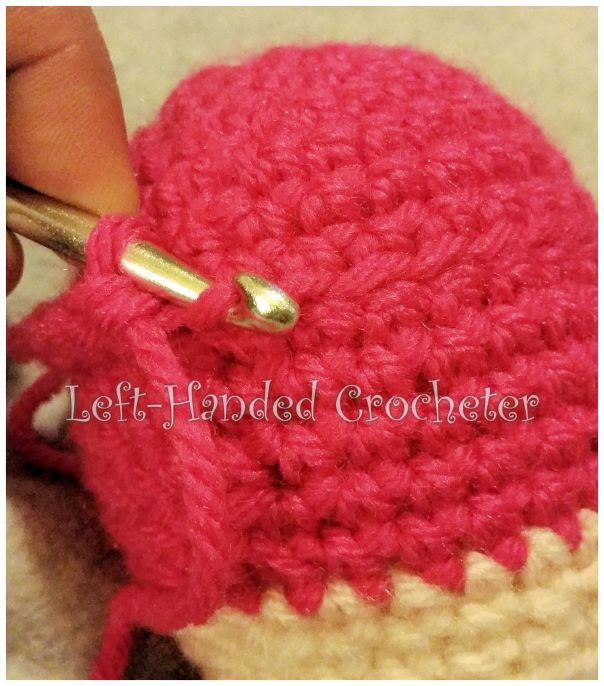
*SIDE NOTE* I have horrible lighting in my house, so I don’t usually take pictures of my work “in progress.” There were a few pieces of each of these patterns, though, that I knew would benefit from in progress pictures. So I took some in my bedroom with my cell phone, using the terrible lighting that I have in there. They aren’t the best pictures, but I figured that they’re better than nothing.
Abbreviations:
ch: chain
sc: single crochet
sl st: slip stitch
dc: double crochet
hdc: half double crochet
trc: triple crochet
inc: increase (2 single crochets in one loop)
dec: decrease (pull yarn through loop, pull yarn through second loop, yarn over and pull through all loops)
Materials needed (with affiliate links):
Lion Brand Vanna’s Choice yarn in beige or fisherman (for her skin), lemon, pink, and rose shocking. (You can choose any colors you want, of course, but these are the ones that I used.)
This pattern is worked “in-the-round”, and stitches are worked through both loops unless otherwise noted.
Head:
With fisherman or beige, ch 3. Sl st to first ch to create circle. (Instead, you can perform the “magic circle” if you’d like.)
Row 1: ch 1, 10 sc inside of circle. (10 stitches)
Row 2: *Inc in first stitch, sc in next stitch, repeat from * around. (15 stitches)
Row 3: *Inc in first stitch, sc in next 2 stitches, repeat from * around. (20 stitches)
Row 4: *Inc in first stitch, sc in next 3 stitches, repeat from * around. (25 stitches)
Row 5: *Inc in first stitch, sc in next 4 stitches, repeat from * around. (30 stitches)
Row 6: *Inc in first stitch, sc in next 5 stitches, repeat from * around. (35 stitches)
Row 7: *Inc in first stitch, sc in next 6 stitches, repeat from * around. (40 stitches)
Row 8: *Inc in first stitch, sc in next 7 stitches, repeat from * around. (45 stitches)
Row 9: *Inc in first stitch, sc in next 8 stitches, repeat from * around. (50 stitches)
Rows 10-15: Sc in each stitch around. (50 stitches)
Row 16: *Dec in first 2 stitches, sc in next 8 stitches, repeat from * around. (45 stitches)
Row 17: *Dec in first 2 stitches, sc in next 7 stitches, repeat from * around. (40 stitches)
Row 18: *Dec in first 2 stitches, sc in next 6 stitches, repeat from * around. (35 stitches)
Row 19: *Dec in first 2 stitches, sc in next 5 stitches, repeat from * around. (30 stitches)
Row 20: *Dec in first 2 stitches, sc in next 4 stitches, repeat from * around. (25 stitches)
Row 21: *Dec in first 2 stitches, sc in next 3 stitches, repeat from * around. (20 stitches)
Tie off. Stuff with poly-fil.
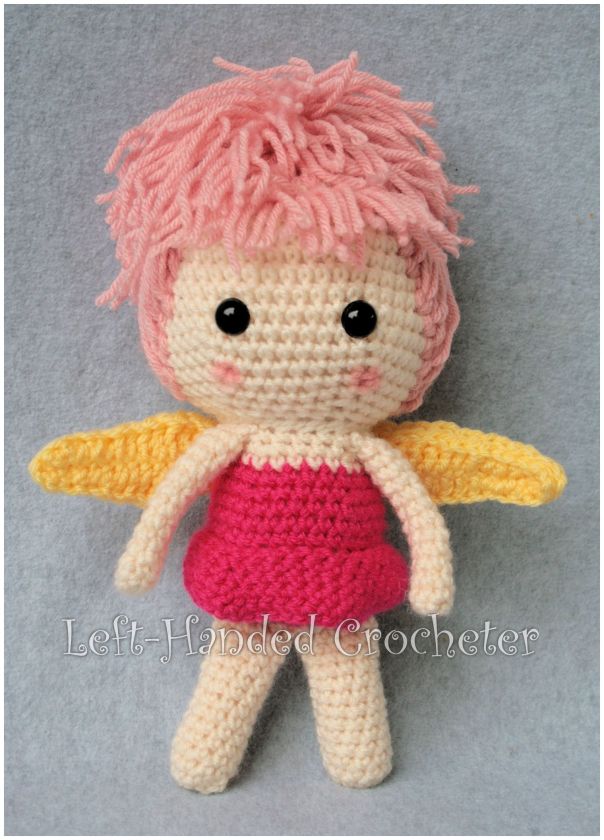
Figure out the placement of her eyes, but don’t put the backs on yet. Attach hair. There are many different ways you can do hair on dolls, which I go into detail more about in my Amigurami Tips and Tricks post. For Poppy, I did her bangs first, then I attached hair around her hair and pulled it up into a ponytail, then used a piece of yarn to tie it up. With ponytails, you don’t need to attach hair to the whole head; you just need to attach it around the outside since it will cover the rest of the scalp.
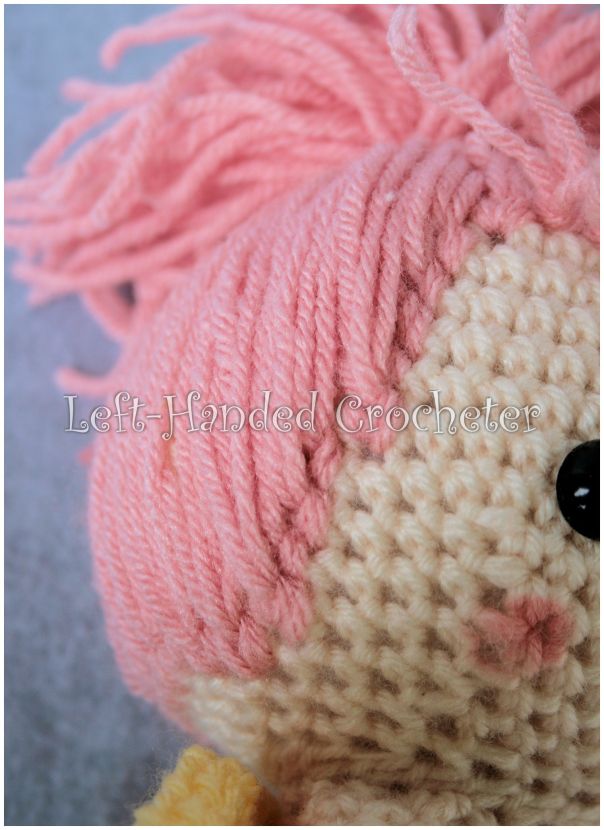

She would look cute with different hair options too, but I wanted the ponytail to match the one on the button. Once you’re happy with her hair, adjust the eyes if you need to to get them where you want them, then place the backs on. You can use blush to give her pink cheeks if you’d like to.
Body:
With pink shocking, ch 3. Sl st to first ch to create circle. (Instead, you can perform the “magic circle” if you’d like.)
Row 1: ch 1, 10 sc inside of circle. (10 stitches)
Row 2: *Inc in first stitch, sc in next stitch, repeat from * around. (15 stitches)
Row 3: *Inc in first stitch, sc in next 2 stitches, repeat from * around. (20 stitches)
Row 4: *Inc in first stitch, sc in next 3 stitches, repeat from * around. (25 stitches)
Row 5: *Inc in first stitch, sc in next 4 stitches, repeat from * around. (30 stitches)
Row 6: *Inc in first stitch, sc in next 5 stitches, repeat from * around. (35 stitches)
Row 7: *Dec in first 2 stitches, sc in next 5 stitches, repeat from * around. (30 stitches)
Row 8: Sc in each stitch around. (30 stitches)
Row 9: In front loops only, sc in each stitch around. (30 stitches)
Rows 10-11: Sc in each stitch around. (30 stitches)
Row 12: *Dec in first 2 stitches, sc in next 4 stitches, repeat from * around. (25 stitches)
Row 13: Sc in each stitch around. (25 stitches)
Switch to skin color.
Row 14: Sc in each stitch around. (25 stitches)
Row 15: *Dec in first 2 stitches, sc in next 3 stitches, repeat from * around. (20 stitches)
Row 15: Sc in each stitch around. (20 stitches)
Tie off. Stuff with poly-fil.
Skirt
Row 1: Find the other loop in row 9 of the body that you didn’t crochet into. Sl st into one of the loops and sc around. (30 stitches)
Row 2: *Inc in first stitch, sc in next 5 stitches, repeat from * around. (35 stitches)
Row 3: *Inc in first stitch, sc in next 6 stitches, repeat from * around. (40 stitches)
Row 4: *Inc in first stitch, sc in next 7 stitches, repeat from * around. (45 stitches)
Row 5: *Inc in first stitch, sc in next 8 stitches, repeat from * around. (50 stitches)
Tie off. You can make the skirt long be continuing to sc around, or you could even do a scalloped edge or other edging on the skirt.
Arms
With beige or fisherman, ch 3. Sl st to first ch to create circle. (Instead, you can perform the “magic circle” if you’d like.)
Row 1: ch 1, 6 sc inside of circle. (6 stitches)
Rows 2-13: Sc in each stitch around. (6 stitches)
Tie off. Do not stuff. You can insert pipe cleaners in the arms if you want them to be poseable.
Legs
With beige or fisherman, ch 3. Sl st to first ch to create circle. (Instead, you can perform the “magic circle” if you’d like.)
Row 1: ch 1, 10 sc inside of circle. (10 stitches)
Rows 2-14: Sc in each stitch around. (10 stitches)
Tie off. Stuff with poly-fil.
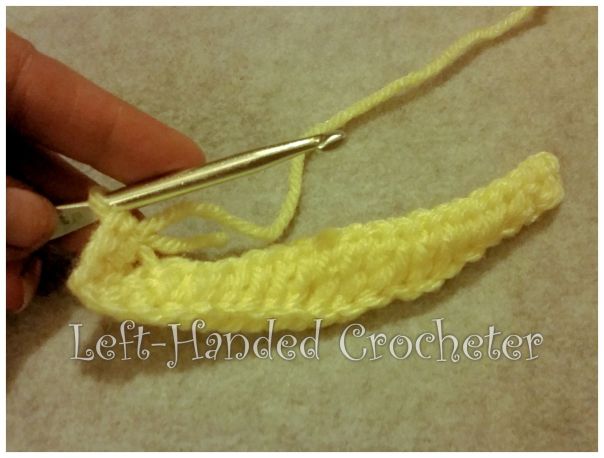
Wings
With lemon, ch 20.
Sc in 2nd ch from hook, sc in next ch, hdc in next 3, dc in next 3, trc in next 3, dc in next 3, hdc in next 3, sc in last 2. Ch 2, turn and work the same pattern in the other loop of the ch. Sl st to first sc. Tie off.
Make 4.

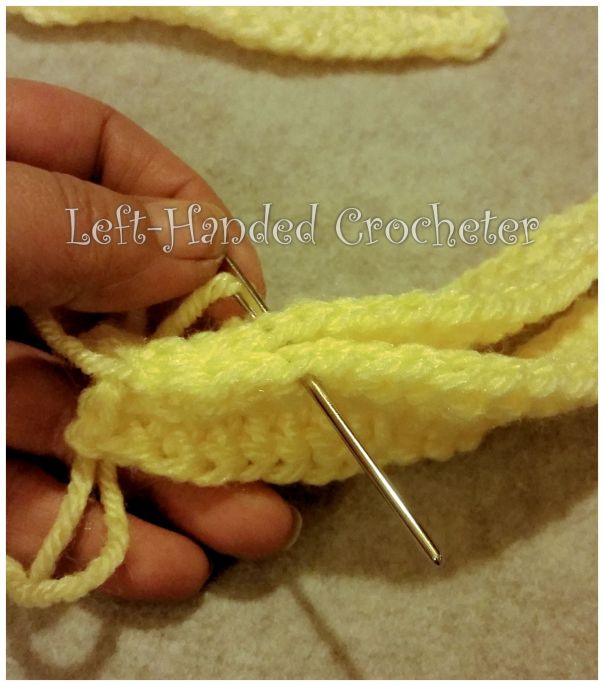
Sew 2 together to form the wings.
You should have all of your parts done now, and can finish putting her together.
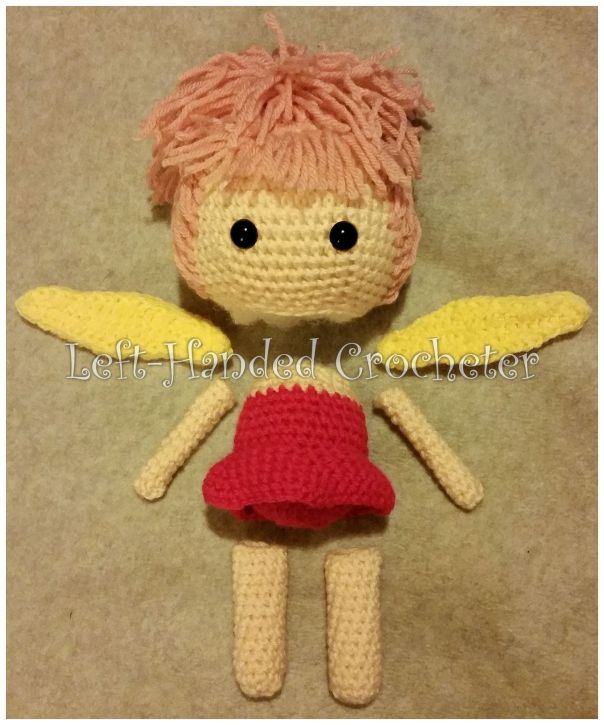
Sew the head onto the body. Sew the legs on, then the arm, then sew the wings onto the back.


By putting pipe cleaners in her arms, you can pose them in different ways.

Be sure to stay tuned for the last pattern in this series.
I hope you enjoy this pattern! You’re welcome to sell items that you make using my patterns, as long as you don’t post the pattern anywhere else, and link back to my page if you’d like to. If there are any mistakes, or something is unclear, please feel free to leave me a comment and let me know. Or message me on Facebook. If you create any fairies of your own, be sure to post a photo on my Facebook page so I can see. I love seeing all of the things people are creating, and I’d love to see the different variations that people make of these.


…so so lovely!!!