Christmas is my absolute favorite holiday. I go a little Christmas crazy around here, and I absolutely love handmade Christmas decorations. For the month of November, we’re doing a crochet along (CAL). Here’s what we’ll be making.

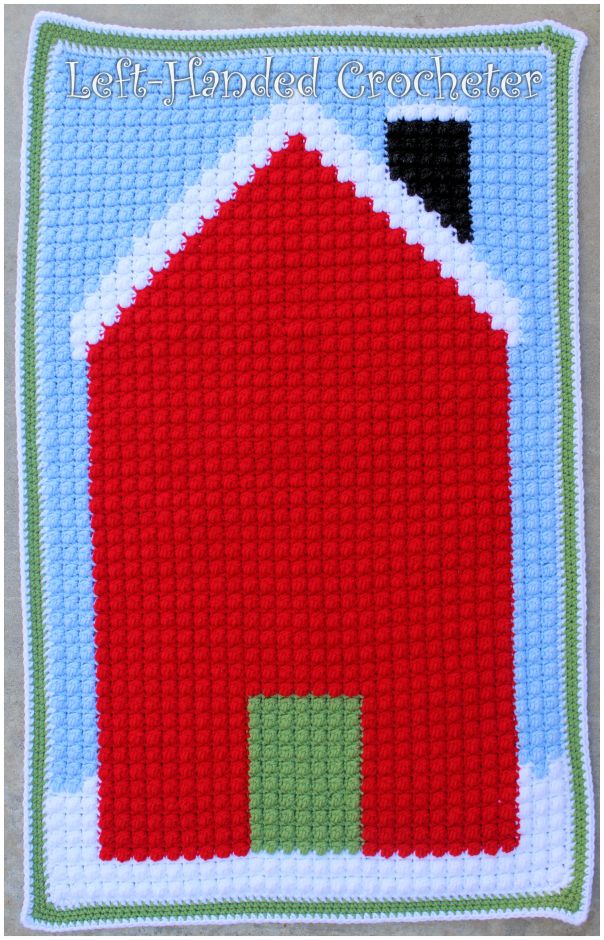
Count down to Christmas with Santa Claus. Santa starts at the front door on December 1st, then makes his way up the house until he gets to the chimney on Christmas. This finished countdown measures approximately 20½ inches wide by 35½ inches long.
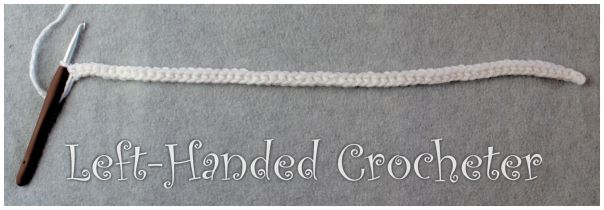
Be sure you read through all of the instructions before you begin. This pattern is written by me, a left-handed person, but can be easily made by a right-handed person as well. The photos will be backwards for right-handed people, but it shouldn’t be a problem if you just remember that you’re working in the opposite direction.
I’ll be posting the patterns/instructions every Friday in November, so be sure you’re following to get all of it. This first part is the longest part, since it’s the main graph and instructions for the bobble stitch. It will probably take you longer than a week, and that’s ok. The other weeks won’t take you as long so there’s plenty of time to get it all finished before December hits.
Abbreviations:
ch: chain
sc: single crochet
inc: increase (2 single crochets in one loop)
dec: decrease (pull yarn through loop, pull yarn through second loop, yarn over and pull through all loops)
dc: double crochet
sl st: slip stitch
YO: yarn over
Materials needed:
Any worsted weight yarn. I used Red Heart Super Saver. I used 2 skeins of the red for the house, 1 skein of each other color.
The colors I used were:
- Cherry Red
- Charcoal
- White
- Light Blue
- Tea Leaf
- Burgundy
- Buff
- Paddy Green
J (6mm) crochet hook (for the graphs)
G (4mm) crochet hook (for the appliques and Santa)
Poly-fil
Yarn needle
10 mm safety eyes
½ inch wooden dowel
Foam numbers or foam sheets to cut numbers out of
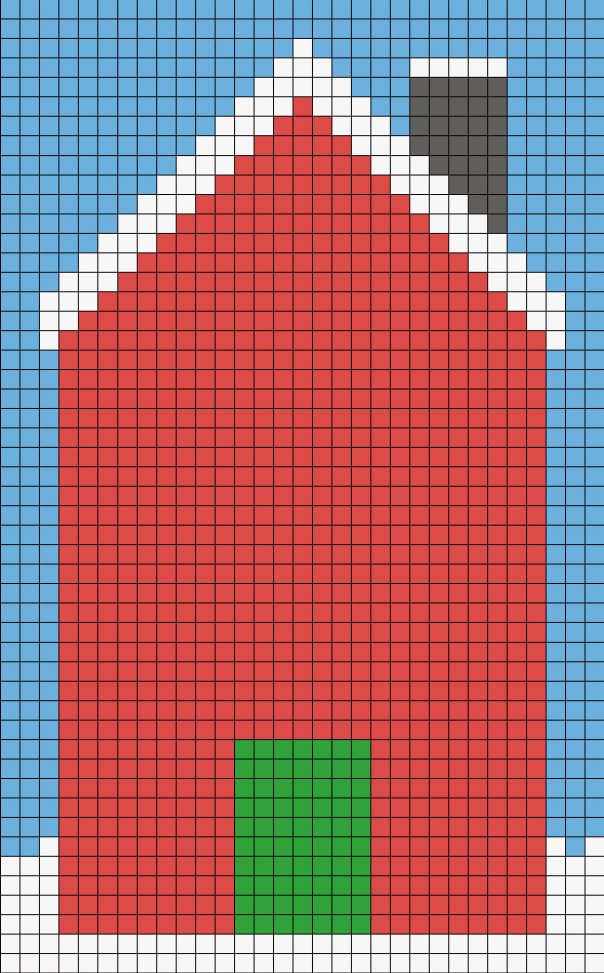
House Graph
Instructions
This is a graphgan made using a modified bobble stitch. If you’ve never made a graphgan before, I’m going to talk you through how to do it.
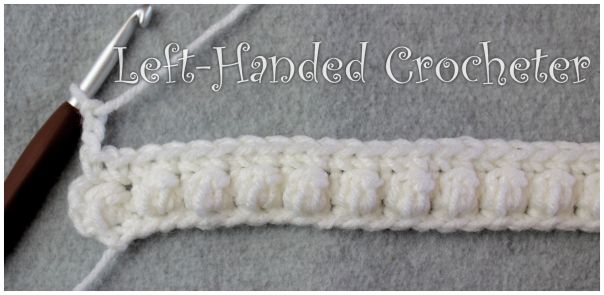
This pattern is made up of a row of bobble stitches plus sc’s, then a row of sc’s. Each square in the graph is actually 4 stitches. See photo below.

The first stitch in the square is the bobble stitch. The second one is the sc after the bobble stitch. The third and fourth stitches in the square come in the next row and are the sc’s across the top.
I started from the bottom of the graph and worked my way up, but you can also start from the top and work your way down if you’d like to. Your starting chain will be the number of squares in the graph doubled, plus one. This graph is 31 squares across, so you’re going to start with a ch of 63, using your J (6mm) crochet hook.

For the first row, sc in the 2nd ch from the hook and in each across. (62 stitches) Ch 3, turn.
Now you’ll start your first bobble stitch.
YO, insert hook into first stitch, YO and pull up a loop, YO and pull through 2 loops. (2 loops on hook.) YO, insert hook into same stitch, YO and pull up a loop, YO and pull through 2 loops. (3 loops on hook.) YO, insert hook into same stitch, YO and pull up a loop, YO and pull through 2 loops. (4 loops on hook.) YO and pull through all 4 loops. (See photos below.)


This is your modified bobble stitch. It’s modified because a typical bobble stitch has 4 or 5 dc’s, but this one only has 3 so that it isn’t quite as puffy and thick.
Work a sc into the next stitch.
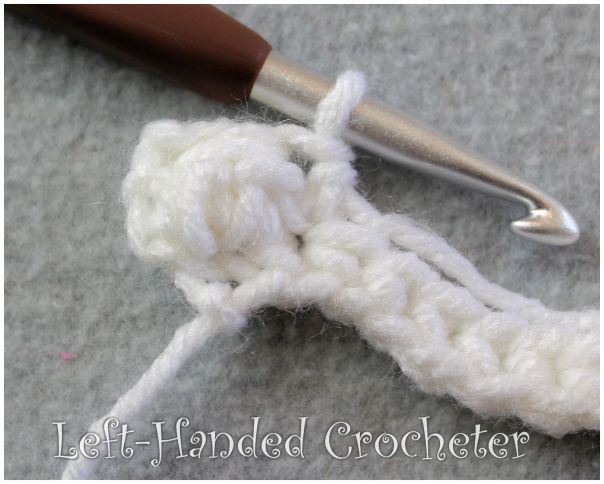
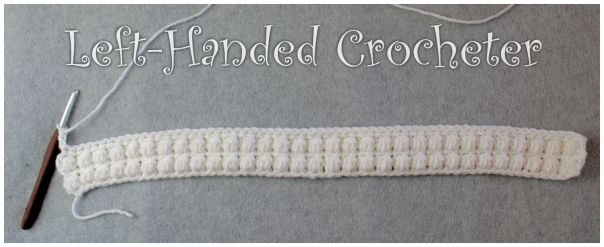
This closes your bobble stitch and makes it poof out. Continue working bobble stitches and sc’s across. At the end, ch 1 and turn. (31 bobble stitches)
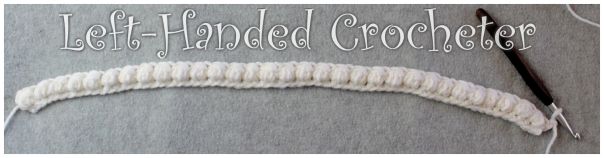
Now sc in each stitch across. (62 stitches) Ch 3, turn.

Repeat the row of bobble stitches, and the row of sc’s for row 2 of the graph.
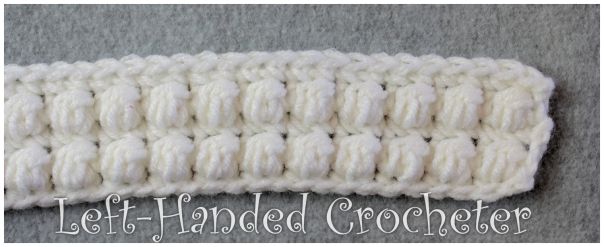
This is how the whole thing will be done, following the graph and making the color changes as needed. Once you get the hang of it, it’s pretty simple. Just make sure you have the graph in front of you and you’re following along.
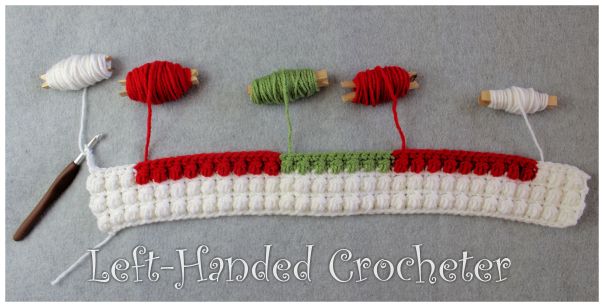
To make your color changes, you’re going to pull your new color through the last loop. For example, the first color change goes from white to red. With your white, insert your hook through the stitch, pull a loop through. Then pull your red through both loops to close the sc.


Then work your next stitch in red. This give you clean color changes.

Don’t cut your white yarn! You’ll need that yarn attached when you come back. On the row of sc’s, be sure to do your color changes the same way.


Don’t cut any of your colors until you’re done using them for that section. You’ll be working with a lot of yarn attached to your project, and I like to create “bobbins” out of clothespins.
Continue following the graph, working your color changes where indicated. You’ll finish the project with a sc row. I used white and green to do a border around mine. In each corner, I worked 3 sc’s. It’s also beneficial to count your stitches when you’re crocheting around it, and make note of them so that you’ll have the same number of stitches on each side and the top and bottom.
Next Friday I’ll give you the graphs and instructions for the pockets, so stay tuned.
If you’re having any problems, feel free to message me on Facebook. I’ll have free pattern giveaways in my Facebook group for those participating, and the group is a great place to get extra help from other people who are participating in the CAL.
If you don’t want to wait for me to post parts of the pattern each week, or you want to be able to save this pattern, you can purchase the pdf on Ravelry for only $4.
See you next week!


This is to cute