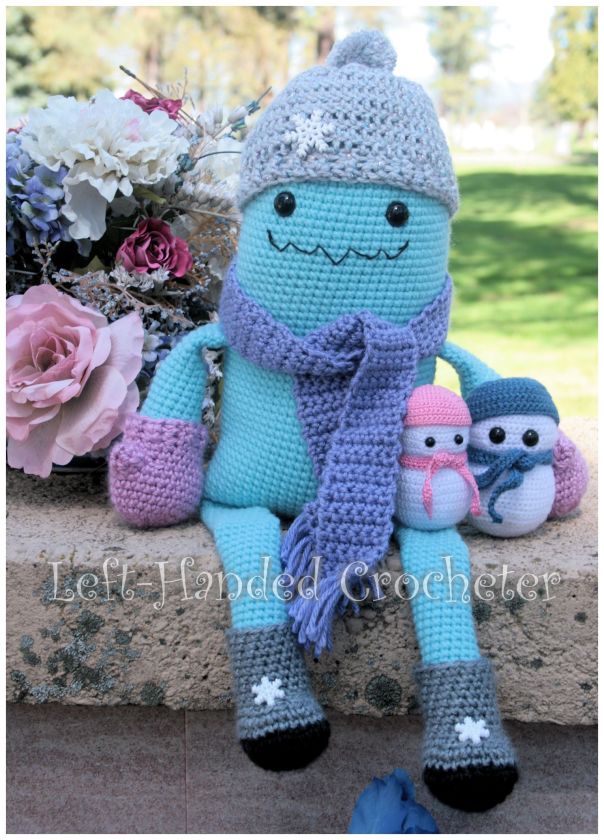
This is Elliot. He refuses to accept the fact that winter is over. The flowers are blooming, but he just keeps on making snowmen.
I have a series of these monsters that I’m going to be posting over the next few weeks. This post has the patterns for Elliot’s accessories. You can find the pattern for the monster on this other post. And don’t forget to check out Camp Happy Heart Fibre Arts on Facebook to see the awesome monsters she makes that inspired these patterns.
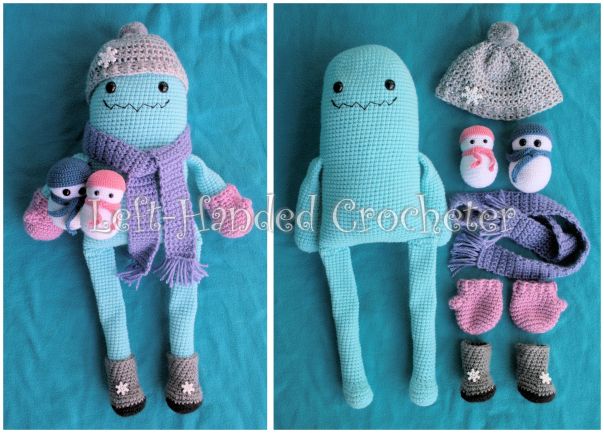
The fun thing about these monsters is that you can make individual ones like I did, or you could just make one monster, then make all of the different accessories so your monster can play dress up. I have a total of 9 monsters that I’m working on, so expect to see a lot more accessories coming in the future. For now, here’s the patterns for Elliot’s accessories:
Abbreviations:
ch: chain
sc: single crochet
sl st: slip stitch
dc: double crochet
hdc: half double crochet
fphdc: front post half double crochet
bphdc: back post half double crochet
inc: increase (2 single crochets in one loop)
dec: decrease (pull yarn through loop, pull yarn through second loop, yarn over and pull through all loops)
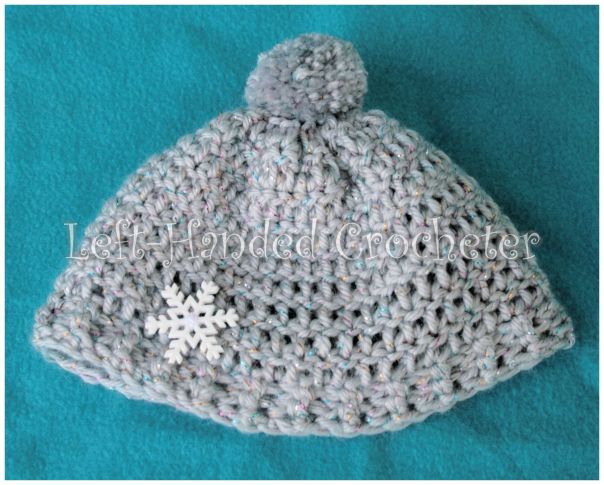
Winter Hat
Materials needed (with affiliate links):
Caron Simply Soft Party in Silver Sparkle (You can use a different color if you’d like, but this is the color I chose for him because I loved the colors in the sparkle)
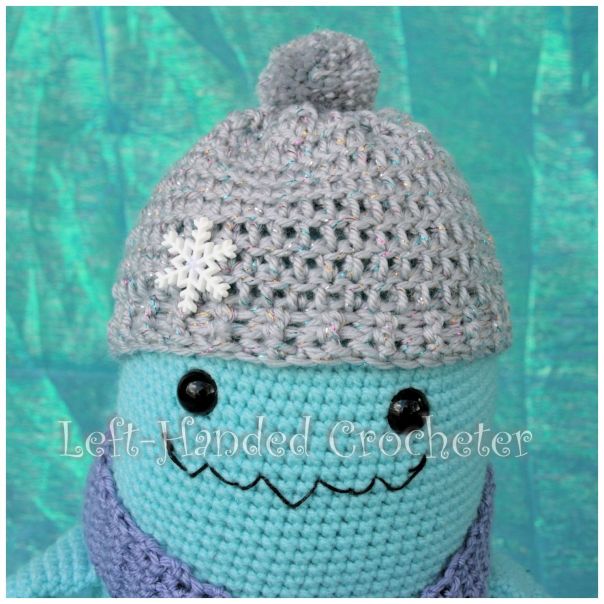
Snowflake button (optional)
Hat
Ch 50, attach with a sl st to first chain to form a ring.
Row 1: Hdc around, sl st to first hdc. (50 stitches)
Rows 2-3: Ch 2, fphdc, bphdc around. Sl st to top of ch 2. (50 stitches)
Rows 4-12: Ch 3, dc around, sl st to top of ch 3. (50 stitches) Tie off at the end of the 12th row (or you can make it bigger if you want extra slouch on the hat), leaving a long tail. Using your yarn needle and the tail you left, weave the thread in and out of the loops in the top. Pull it tight, then stitch through a few times to tighten it more. I don’t have any pictures of this step from this hat, but I do have these pictures from another hat that I made.


Use thread or yarn to attach a button if you’d like. I picked up some simple snowflake buttons from Walmart, but here’s a pretty set on Amazon that I’m planning to purchase. There are others in their drop-down menu that I want to order as well.
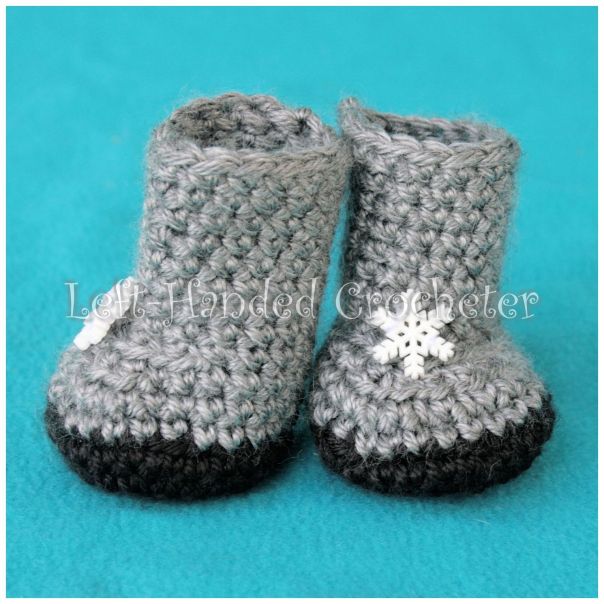
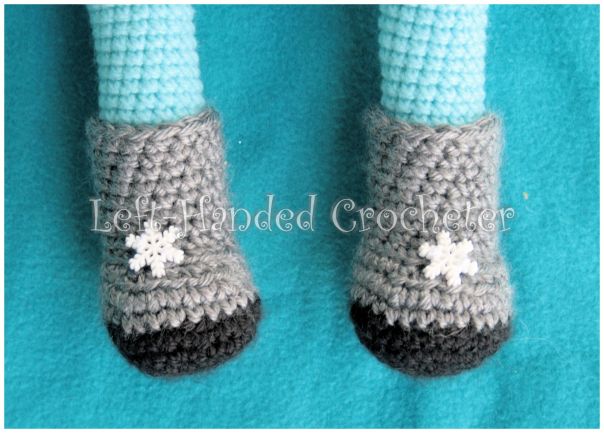
Boots
Materials needed (with affiliate links):
Caron Simply Soft yarn in black and grey.
Snowflake buttons (optional)
Boot
Using black yarn, ch 3. Sl st to first ch to create circle. (Instead, you can perform the “magic circle” if you’d like.)
Row 1: ch 1, 10 sc inside of circle. (10 stitches)
Row 2: *Inc in first stitch, sc in next stitch , repeat from * around. (15 stitches)
Row 3: *Inc in first stitch, sc in next 2 stitches, repeat from * around. (20 stitches)
Row 4: *Inc in first stitch, sc in next 3 stitches, repeat from * around. (25 stitches)
Row 5: *Inc in first stitch, sc in next 4 stitches, repeat from * around. (30 stitches)
Row 6: Switch to white. *Dec in first 2 stitches, sc in next 4 stitches, repeat from * around. (25 stitches)
Row 7: Sc in each stitch around. (25 stitches)
Row 8: 7 sc, dec, dec, dec, dec, dec, 8 sc. (20 stitches)
Row 9: 5 sc, dec, dec, dec, dec, dec, 5 sc. (15 stitches)
Rows 10-17: Sc in each stitch around. (15 stitches) Tie off. Using thread or yarn, attach snowflake buttons if desired.
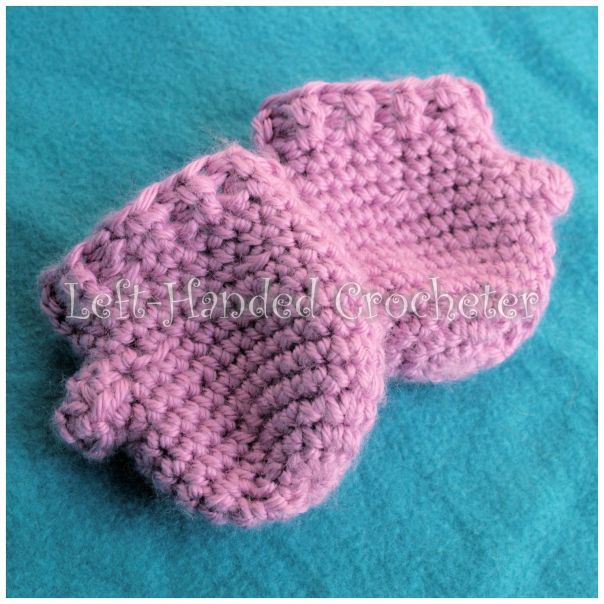
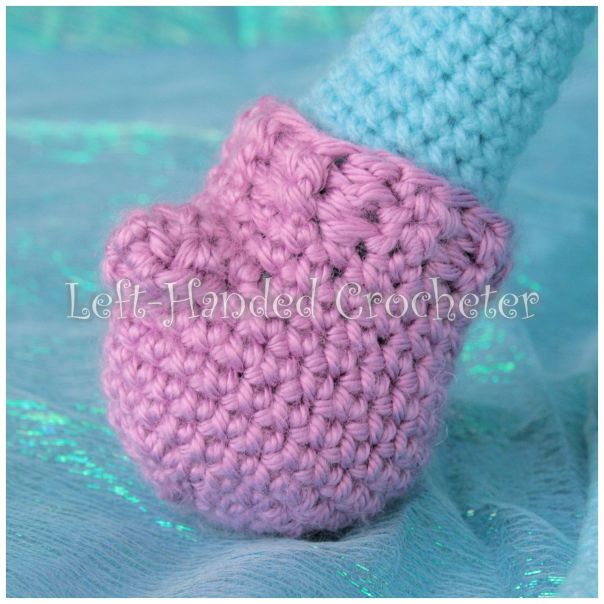
Mittens
Materials needed (with affiliate links):
Caron Simply Soft yarn in blackberry
Mitten
ch 3. Sl st to first ch to create circle. (Instead, you can perform the “magic circle” if you’d like.)
Row 1: ch 1, 10 sc inside of circle. (10 stitches)
Row 2: *Inc in first stitch, sc in next stitch , repeat from * around. (15 stitches)
Row 3: *Inc in first stitch, sc in next 2 stitches, repeat from * around. (20 stitches)
Row 4: *Inc in first stitch, sc in next 3 stitches, repeat from * around. (25 stitches)
Rows 5-8: Sc in each stitch around. (25 stitches)
Row 9: Sc in first 3 stitches, ch 2, skip next 2 stitches, sc in last 20 stitches. (23 stitches, 2 chains)
Row 10: *Dec in first 2 stitches, sc in next 3 stitches, repeat from * around. (Work 2 sc’s in ch 2 space) (20 stitches)
Rows 11-12: Sc in each stitch around. (20 stitches)
Rows 13-14: Ch 2, fphdc, bphdc around. Sl st to top of ch 2. (20 stitches) Tie off.
Thumb
Row 1: Attach yarn into space, work 6 sc’s around, sl st to first sc.
Row 2: Dec around to close. Tie off.
I used a little bit of poly-fil in each thumb to help it keep the shape.
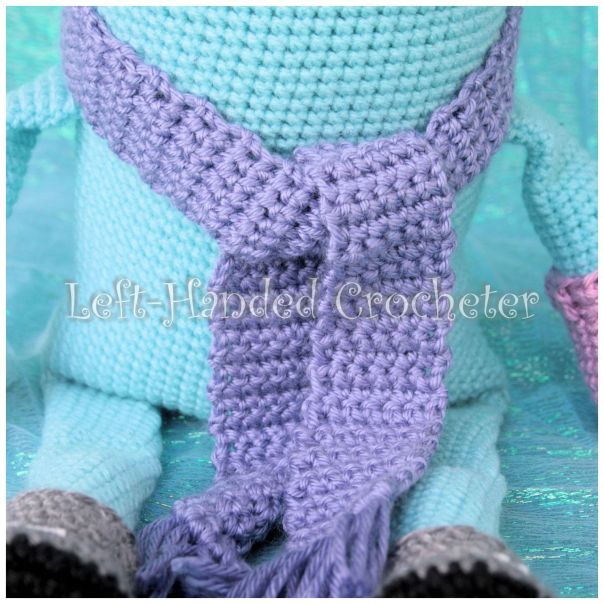
Scarf

Materials needed (with affiliate links):
Caron Simply Soft yarn in lavender blue
Ch 7
Row 1: Sc in 2nd ch from hook and in each ch across, ch 1, turn. (6 stitches)
Rows 2-120: Sc across, ch 1, turn. Tie off at the end of row 120. You can adjust the length of your scarf by doing more or less rows. Attach fringe at the ends.
Snowmen
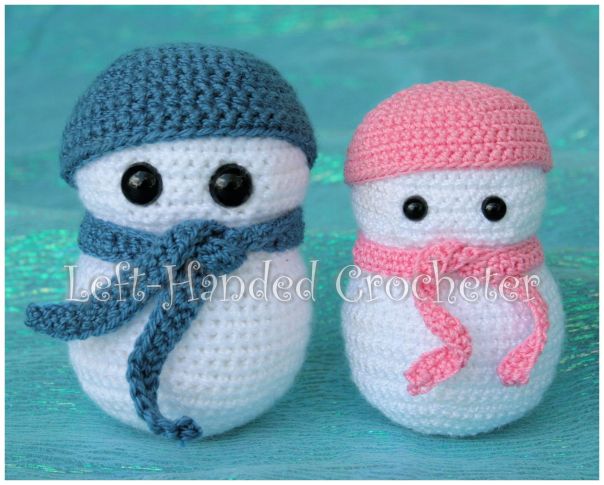
I used this snowman pattern that I posted last year to make the snowmen for Elliot. With the pink one, I used 1.5mm crochet hook, Aunt Lydia’s crochet thread, and 6mm safety eyes, For the blue one, I used a 2mm crochet hook, Bernat Handricrafter thread, and 10 mm safety eyes.

Don’t forget, you can also make Gunther and his accessories:

The patterns for his accessories can be found on this post.
I hope you enjoy these patterns! If there are any mistakes, or something is unclear, please feel free to leave me a comment and let me know. Or message me on Facebook. If you create any monsters of your own, be sure to post a photo on my Facebook page so I can see. I love seeing all of the things people are creating, and I’d love to see the different variations that people make of these. And don’t forget to check out Camp Happy Heart Fibre Arts on Facebook to see all of the other wonderful creations she’s made.

