If you make hats, then you probably know that the best way to display them is on mannequin heads. Whether you sell items at craft fairs, in a shop, or online, a simple foam mannequin head will help show your hats off.

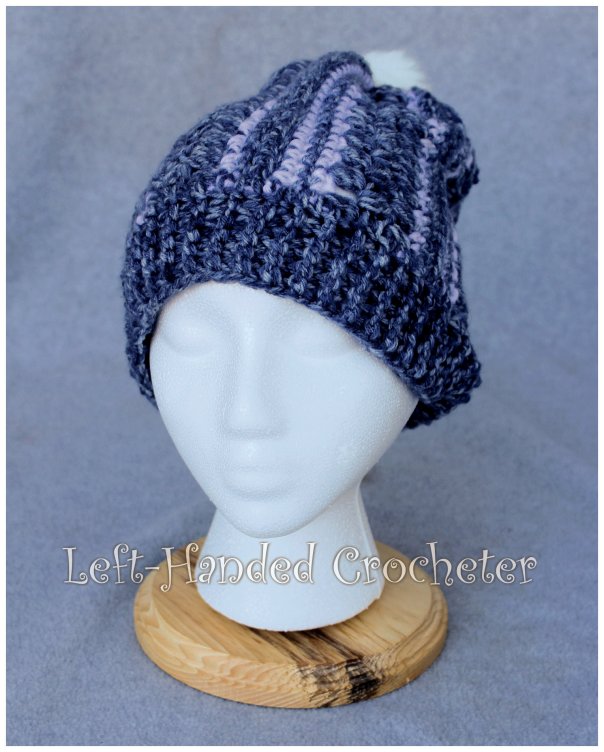
Styrofoam mannequin heads are fairly inexpensive, but they’re also pretty boring. The other problem I have with them is, the white brightness of them can mess up a photograph, causing either your hat to end up too dark, or the mannequin head to be too bright and lose any features. If you want to spruce up those mannequin heads, it’s pretty easy to decoupage them.
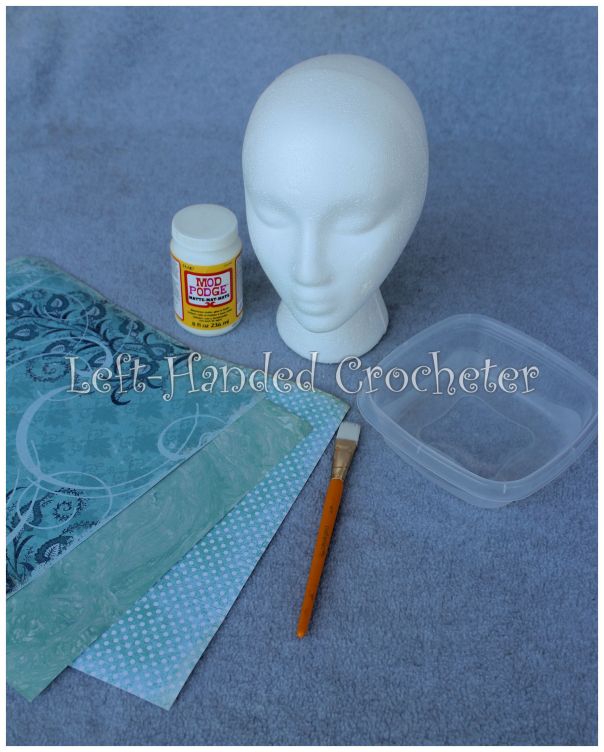
All you need is some scrapbook paper, Mod Podge (I prefer the matte finish), a paintbrush, and a container of water. Choose scrapbook paper with some simple designs, preferably in colors that won’t overpower your hats. I like choosing a few coordinating papers to mix things up a bit. I should also note that I tried this with a thicker scrapbook paper, and it didn’t work as well. The regular, thinner scrapbook paper works better for getting all of those curves.
Tear the scrapbook paper into pieces. You could also use scissors and cut the paper, but I think it looks better torn into random pieces.

Make sure you have small pieces, especially for around the eyes, nose and mouth.
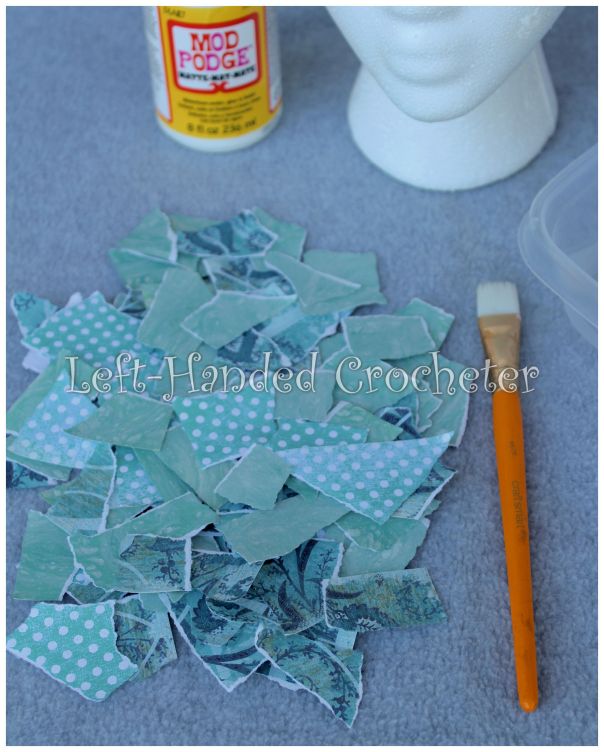
Put pieces of the paper into the container of water. You don’t have to leave them in very long, although leaving them in longer will make them more flexible.

Dip your paintbrush into the Mod Podge and spread it on the mannequin head where you’re going to put your pieces. Lay the pieces on and use your fingers to smooth out any curves or creases. Go over the piece with more Mod Podge.

Continue doing this to cover the whole head. The hardest part is around the eyes, nose and mouth, but just use small pieces and be sure to smooth each of them out to form into the creases of the head.
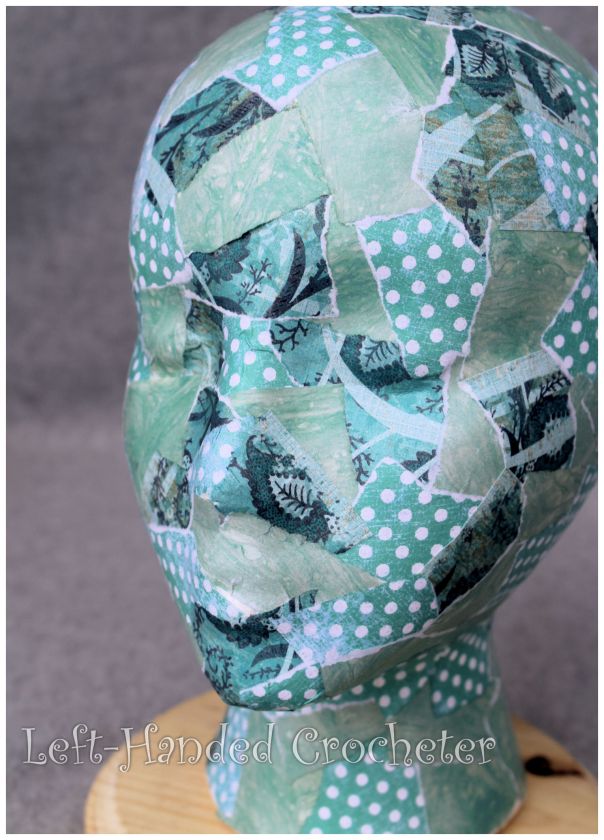
Once your mannequin head is completely covered, set it some place to dry. You can add another coat of Mod Podge over the top to seal it, or even use a spray sealer if you want to.
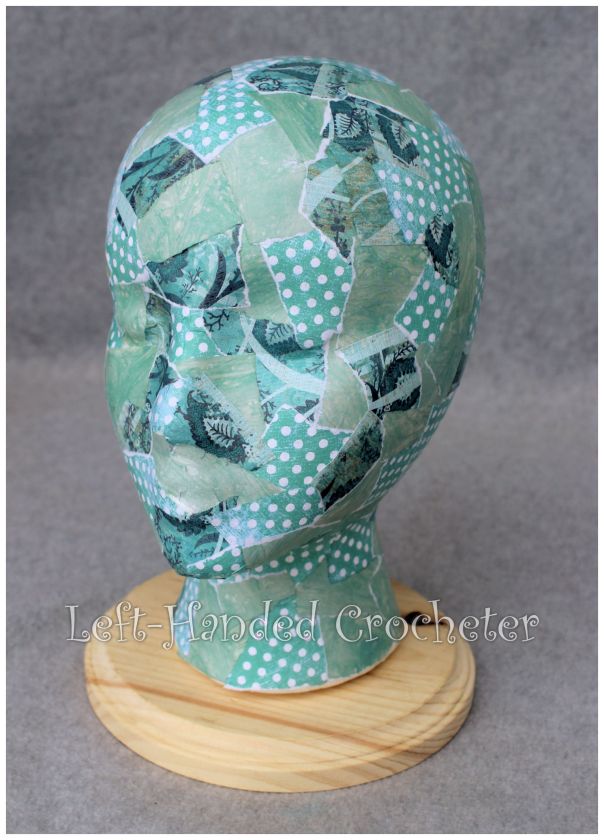
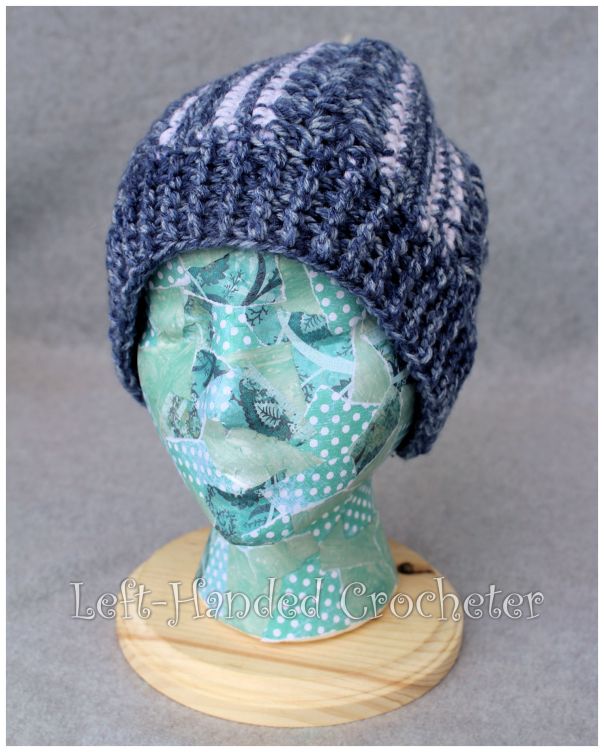
I really like the way the hats look on decorated mannequin heads. It will make your product stand out from others, and it turns your mannequin head into a work of art.


Try different colors of papers to go with different hats that you have.


I really like the way neutral tones work with most hats.


I also have to add, one of the biggest problem I’ve had with styrofoam mannequin heads is that they tip over pretty easily once you put a hat on them. Since they have a hole in the bottom of the head, my boyfriend made me some wooden bases using round plaques and wooden dowels.

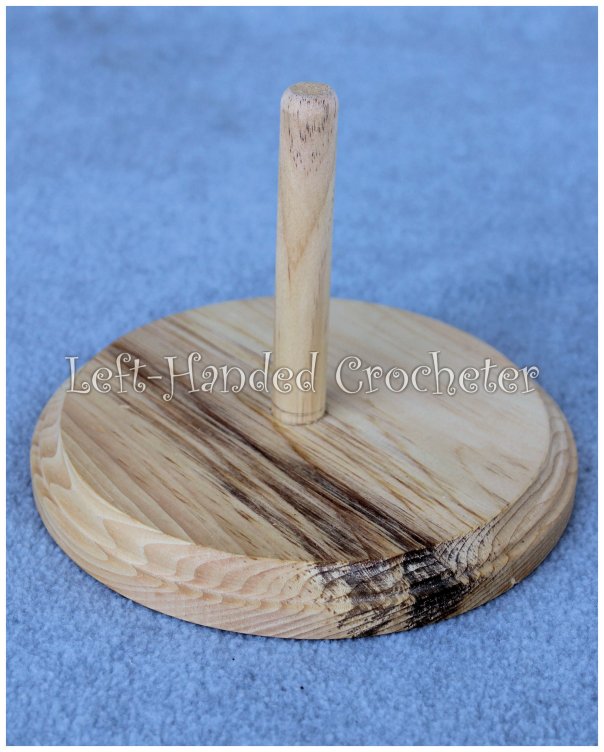
They were pretty easy to make, too. He just measured and cut the dowels, then screwed them into the round plaque. He’s going to stain them for me too. I love them. They add a nice tough to my photographs and help keep the heads from falling over when I’m trying to take pictures.
I hope this post was helpful. If you decoupage any mannequin heads, go share a photo with me over on my Facebook. I’d love to see other colored ones, and different designs.


What a neat idea. I need a stand for my heads. They always fall over.
I love this!
I especially love how the beige one with music notes paper turned out!
The beige one is my favorite one. I actually made that one first, when I first had the idea to do it. Then I decided I should do a couple more, and take some pics to show other people how easy it is. It really does make the hats stand out more on a decorated mannequin head.
It definitely does!