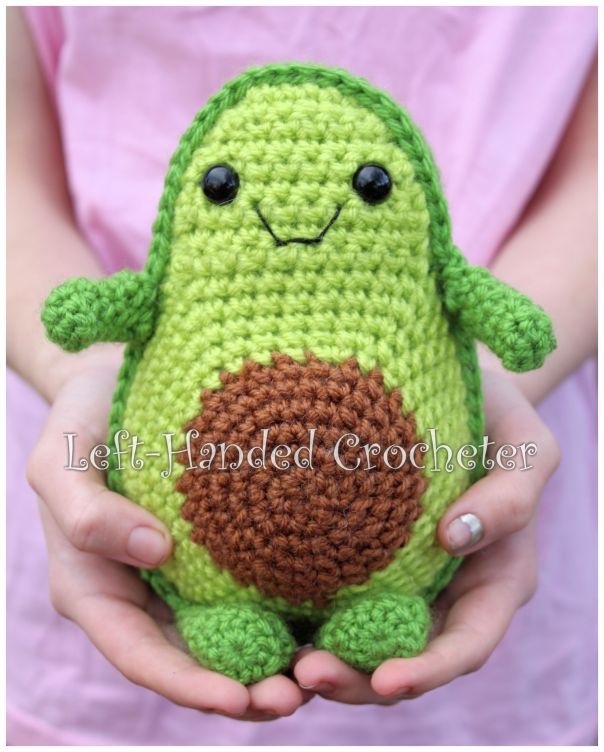
Have you heard? Avocados are a super food. They’re super healthy and super yummy. You won’t want to eat these avocados, though, but they are super cute and super cuddly.
This pattern works up really quickly, and doesn’t take much yarn to make. The finished avocado stands about 7 inches tall. Make a couple for all of the avocado-lovers in your life.
If you want a pattern that you can save on your computer and easily print, this pattern is available in my Ravelry shop for only $2.00. I love printing patterns and saving them in a binder to keep track of the ones I’ve done and the ones I still plan to do.
Abbreviations:
ch: chain
sc: single crochet
sl st: slip stitch
inc: increase (2 single crochets in one loop)
dec: decrease (pull yarn through loop, pull yarn through second loop, yarn over and pull through all loops)
Materials needed (with affiliate links):
Lion Brand Vanna’s Choice yarn in fern, toffee, and radiant lime.
This pattern is worked “in-the-round”, and stitches are worked through both loops unless otherwise noted.
Front
With toffee, ch 3. Sl st to first ch to create circle. (Instead, you can perform the “magic circle” if you’d like.)
Row 1: Ch 1, 5 sc inside of circle. (5 stitches)
Row 2: Inc in each stitch around. (10 stitches)
Row 3: *Inc in first stitch, sc in next stitch, repeat from * around. (15 stitches)
Row 4: *Inc in first stitch, sc in next 2 stitches, repeat from * around. (20 stitches)
Row 5: *Inc in first stitch, sc in next 3 stitches, repeat from * around. (25 stitches)
Rows 6-7: Sc in each stitch around. (25 stitches)
Switch to radiant lime.
Row 8: *Inc in first stitch, sc in next 4 stitches, repeat from * around. (30 stitches)
Row 9: *Inc in first stitch, sc in next 5 stitches, repeat from * around. (35 stitches)
Row 10: *Inc in first stitch, sc in next 6 stitches, repeat from * around. (40 stitches)
Row 11: *Inc in first stitch, sc in next 7 stitches, repeat from * around. (45 stitches)
Row 12: *Inc in first stitch, sc in next 8 stitches, repeat from * around. (50 stitches)
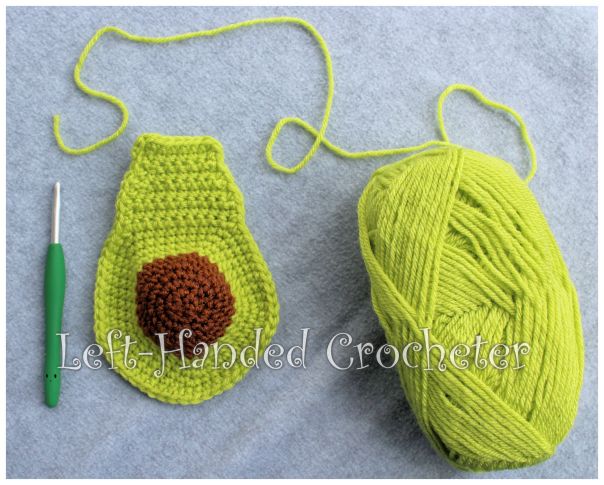
Tie off.

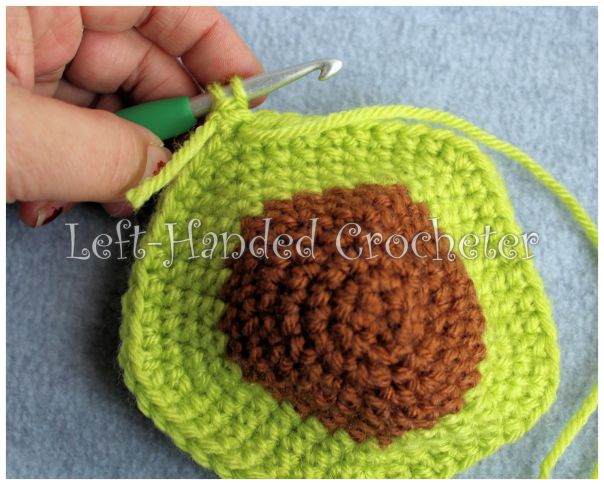
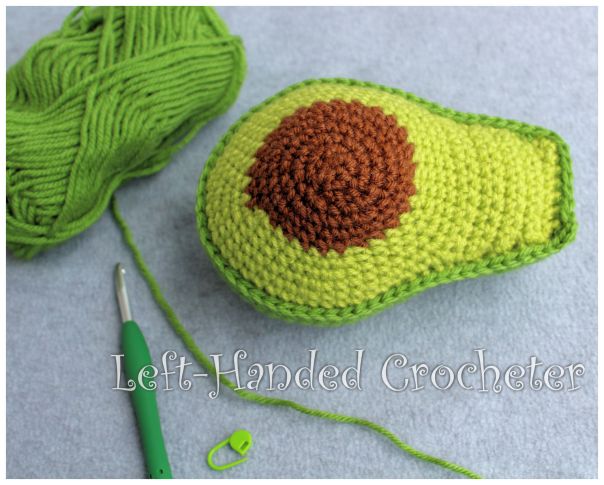
Your piece won’t be round, it should have 5 sides to it like the photo above. With radiant lime, slip stitch into the end of one of those sides.
Row 1: Sc in first 10 stitches, ch 1, turn. (10 stitches)

Rows 2-4: Sc in each stitch across, ch 1, turn. (10 stitches)
Row 5: Dec in first 2 stitches, sc in next 6 stitches, dec in last 2 stitches, ch 1, turn. (8 stitches)
Row 6: Sc in each stitch across, ch 1, turn. (8 stitches)
Row 7: Dec in first 2 stitches, sc in next 4 stitches, dec in last 2 stitches, ch 1, turn. (6 stitches)
Row 8: Sc in each stitch across, ch 1, turn. (6 stitches)
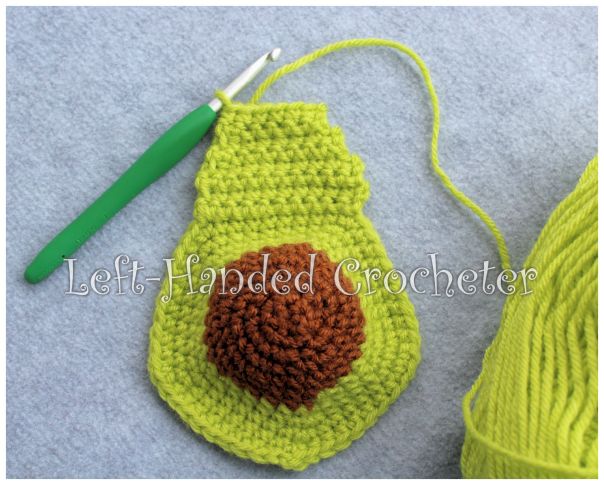
Work 65 sc’s around the whole thing.
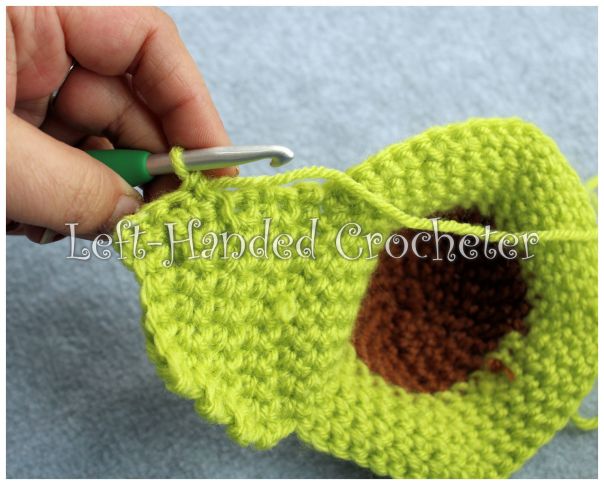
Sl st to first stitch. Tie off.
If you’re using safety eyes, you can attach them now and sew a mouth on with embroidery thread. If you’re stitching eyes on, you can wait until you’re finished to sew them on if you’d like.
Back
With fern, ch 3. Sl st to first ch to create circle. (Instead, you can perform the “magic circle” if you’d like.)
Row 1: Ch 1, 5 sc inside of circle. (5 stitches)
Row 2: Inc in each stitch around. (10 stitches)
Row 3: *Inc in first stitch, sc in next stitch, repeat from * around. (15 stitches)
Row 4: *Inc in first stitch, sc in next 2 stitches, repeat from * around. (20 stitches)
Row 5: *Inc in first stitch, sc in next 3 stitches, repeat from * around. (25 stitches)
Row 6: *Inc in first stitch, sc in next 4 stitches, repeat from * around. (30 stitches)
Row 7: *Inc in first stitch, sc in next 5 stitches, repeat from * around. (35 stitches)
Row 8: *Inc in first stitch, sc in next 6 stitches, repeat from * around. (40 stitches)
Row 9: *Inc in first stitch, sc in next 7 stitches, repeat from * around. (45 stitches)
Row 10: *Inc in first stitch, sc in next 8 stitches, repeat from * around. (50 stitches)
Tie off.
Sl st into one of the flat sides like you did for the front.
Row 1: Sc in first 10 stitches, ch 1, turn. (10 stitches)
Rows 2-4: Sc in each stitch across, ch 1, turn. (10 stitches)
Row 3: Dec in first 2 stitches, sc in next 6 stitches, dec in last 2 stitches, ch 1, turn. (8 stitches)
Row 4: Sc in each stitch across, ch 1, turn. (8 stitches)
Row 5: Dec in first 2 stitches, sc in next 4 stitches, dec in last 2 stitches, ch 1, turn. (6 stitches)
Row 6: Sc in each stitch across, ch 1, turn. (6 stitches)
Work 65 sc’s around the whole thing. Repeat this 3 times to create a “bowl” shape. You can make your avocado wider by working more rows around the back piece, or make it slimmer by working less rows around.
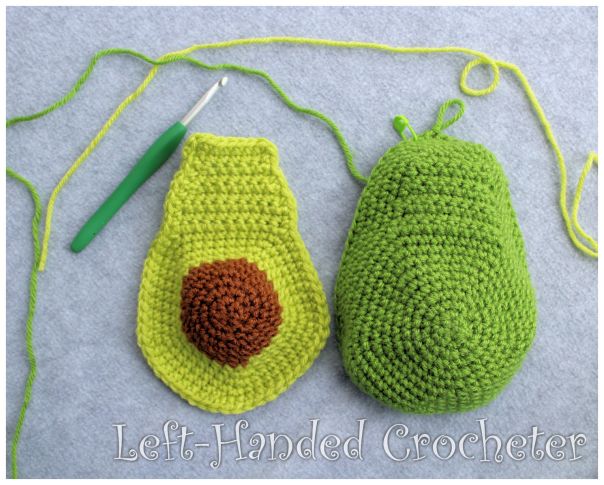
Holding the 2 pieces together, sc around.
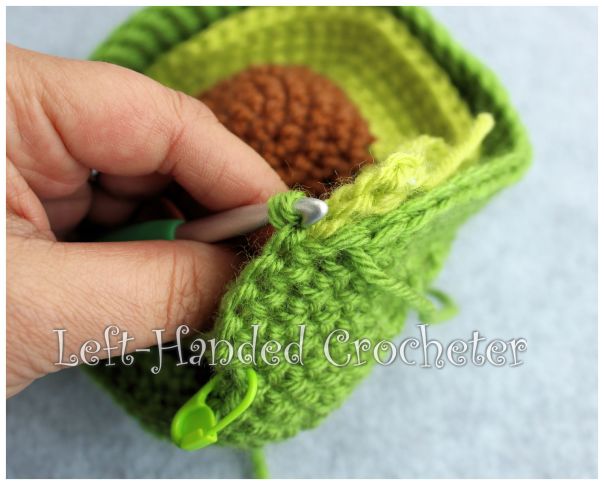
Before you close it up, stuff tight with poly-fil.
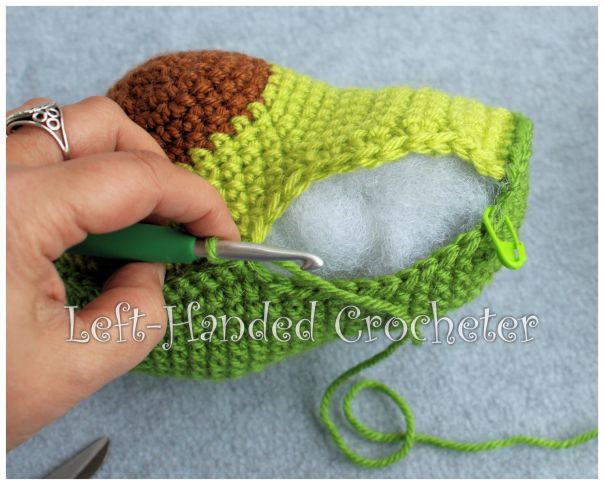
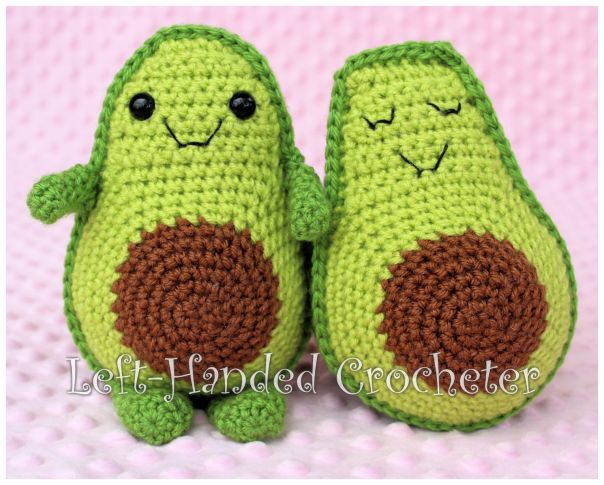
You could leave your avocado like this if you’d like.
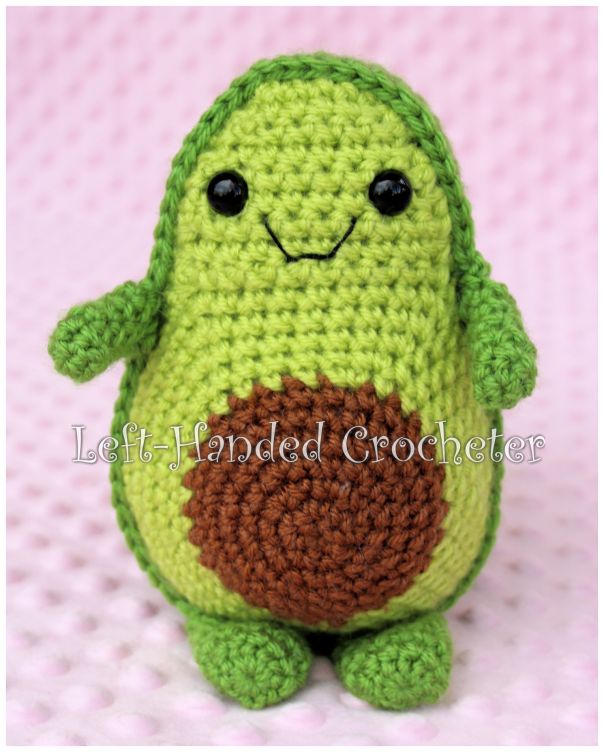
Or put a face on it and attach some arms and legs.
Arms
With fern, ch 3. Sl st to first ch to create circle. (Instead, you can perform the “magic circle” if you’d like.)
Row 1: Ch 1, 6 sc inside of circle. (6 stitches)
Rows 2-5: Sc in each stitch around. (6 stitches)
Tie off. Sew onto sides of avocado.
Legs
With fern, ch 3. Sl st to first ch to create circle. (Instead, you can perform the “magic circle” if you’d like.)
Row 1: Ch 1, 10 sc inside of circle. (10 stitches)
Rows 2-6: Sc in each stitch around. (10 stitches)
Tie off. Sew onto bottom of avocado.
I hope you enjoy this pattern! You’re welcome to sell items that you make using my patterns, as long as you don’t post the pattern anywhere else, and link back to my page if you’d like to. If there are any mistakes, or something is unclear, please feel free to leave me a comment and let me know. Or message me on Facebook. If you create any avocados of your own, be sure to post a photo on my Facebook page so I can see. I love seeing all of the things people are creating, and I’d love to see the different variations that people make of these.


That’s really cute. Very nice pattern.
I found this exctremely cute avocado friend, and just want to ask you if it is OK that I translate the patternt to Norwegian and give the patterns to my followers in Norway. I am a Norwegian designer and author, and mostly I do knitting, but also a bit of crocheting. And I fell for this guy and know that lots of Norwegians would love to make it, but they will refuse because they don´t read english patterns. I have translated lots of books from English about crocheting, so no big deal for me. Hope to hear from you soon. Best regards, Denise Samson
Mine look nothing like this. Theyre not round but have angles, the stone sits much higher up than what they have and the darker green doesnt come around the sides like in the photo.
I made it and it is so cute! The only change I made was an extra row on the top (dec, 2 st, dec) to make it more round. Thank you for sharing this pattern!
I made it and it is so cute! The only change I made was an extra row on the top (dec, 2 st, dec) to make it more round. Thank you for sharing this pattern!
So cute! Great job recreating the avocado shape 🙂
So cute!! Can’t wait to try it -saw it on Moogly #HOHD
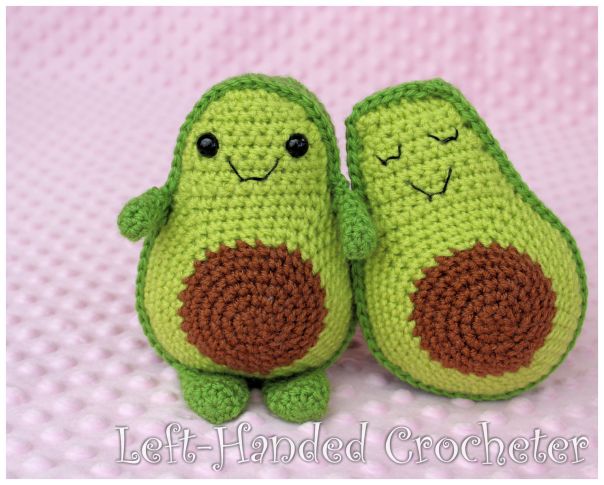
Haven’t hooked this yet, but why does one have rounded top and the other a more square top?
The square one was the first one I made. I did a ch at each corner with that one, then after I got it done I realized I shouldn’t have done that because it gave it square corners. So with the second one, I just did a sc around the whole thing, and it made it more rounded at the top.