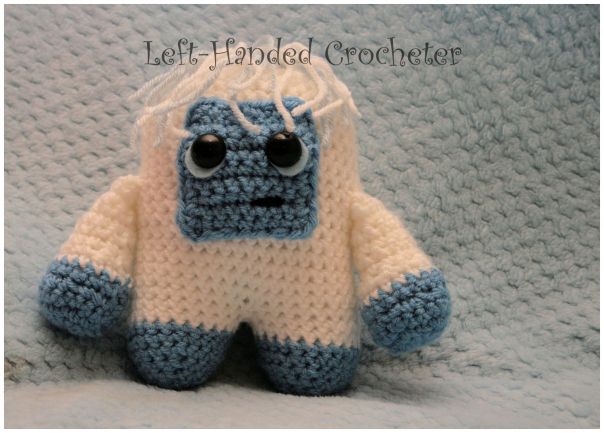
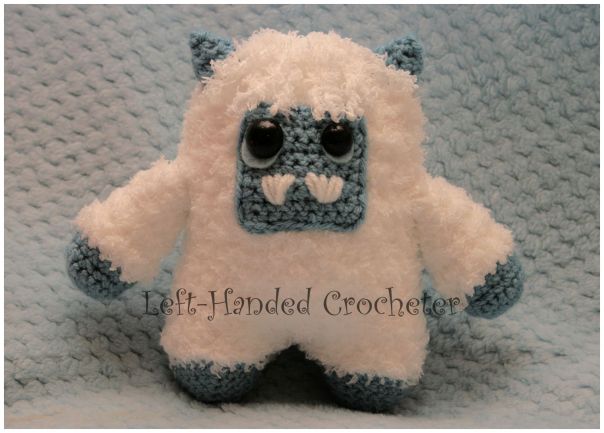
It’s been snowing so much here in Spokane, Washington. Last Saturday, it started snowing again right before I went in to work. So while I was there, I grabbed some yarn to make myself a yeti. I had fun with this pattern, and I love how he turned out. So this is Eddie the lonely Yeti. I made him a couple of friends, so he wouldn’t be lonely anymore. I just got the photos all edited, and got the pattern written up in time for the weekend.
If you want a pattern that you can save on your computer and easily print, this pattern is available in my Ravelry shop for only $2.00. I love printing patterns and saving them in a binder to keep track of the ones I’ve done and the ones I still plan to do.
Abbreviations:
ch: chain
sc: single crochet
st: stitch(es)
sl st: slip stitch
inc: increase (2 single crochets in one loop)
dec: decrease (pull yarn through loop, pull yarn through second loop, yarn over and pull through all loops)
Materials needed (with affiliate links):
Any medium weight yarn will work. I used Vanna’s Choice Lion Brand yarn in white and dusty blue for Eddie, but in the example photos I was making Betty and I used white and aqua.
I (5.25mm) crochet hook. (Or 1 hook size down from the recommended size for the yarn you’re using.)
Safety eyes that look right for size. I used 18mm.
Black embroidery thread or black yarn, or other colors depending on what you want its face to look like.
Body:
Ch. 11
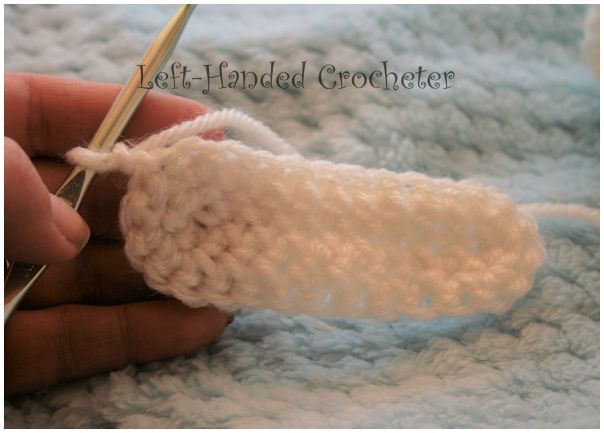
Row 1: This is worked around the chain you just made. Sc in 2nd chain from hook and in each across, working 3 sc’s into the last ch. Turn and work in the other loop of the chain and sc across, working 2 sc’s in last ch. St st to 1st sc, ch. 1. (22 total stitches)


Row 2: 2 sc in first st, sc in next 8 st, work 2 sc’s in each of the next 3 st, sc in next 8, work 2 sc’s in each of the next 2. St sl to 1st sc, ch. 1. (28 total stitches)
Row 3: 2 sc in first st, sc in next 11 st, work 2 sc’s in each of the next 3 st, sc in next 11, work 2 sc’s in each of the next 2. St sl to 1st sc, ch. 1. (34 total stitches)
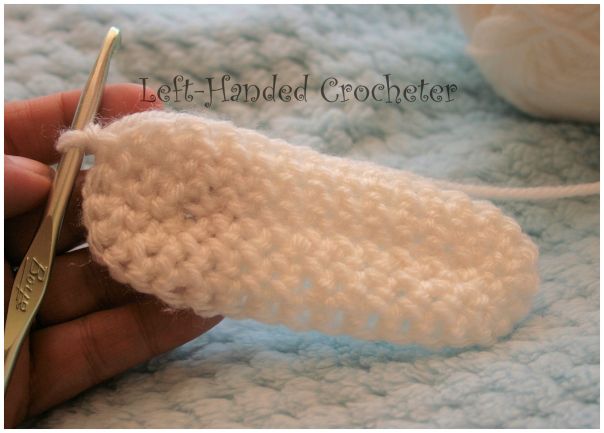
Row 4: 2 sc in first st, sc in next 14 st, work 2 sc’s in each of the next 3 st, sc in next 14, work 2 sc’s in each of the next 2. St sl to 1st sc, ch. 1. (40 total stitches)
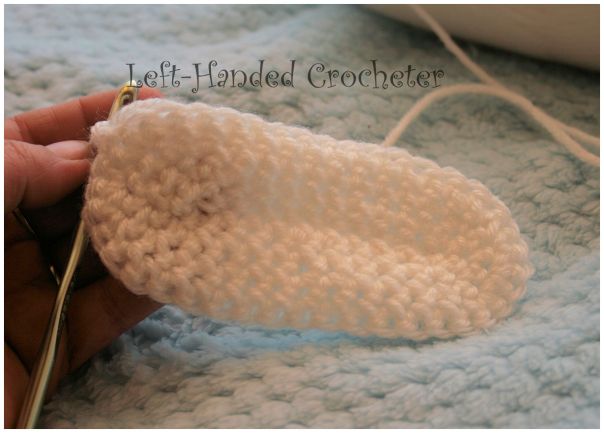
Row 5-20: Sc in each st around. Sl st. to first sc, ch. 1. (40 total stitches)


Do not tie off. Now that the body is finished, you’ll start working on the first leg.
Leg:
Row 1: Sc in first 10 stitches. Skip 20 stitches and sc in last 10 stitches. Sl st to first sc, ch. 1. (20 total stitches)


Row 2-3: Sc in each st around. Sl st to first sc, ch. 1. (20 total stitches)
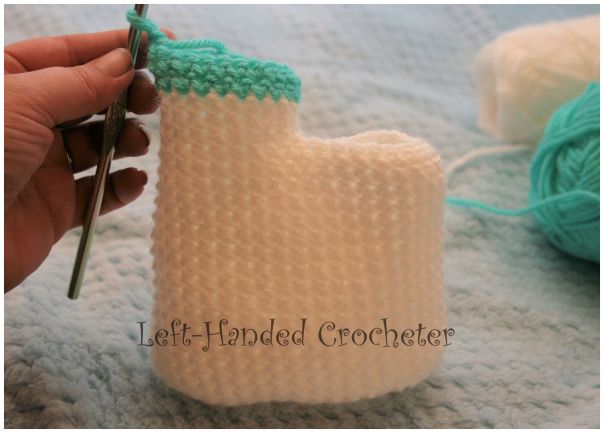
Row 4-5: Switch to blue. Sc in each st around. Sl st to first sc, ch. 1. (20 total stitches)
Row 6: Dec, sc in next 3 st. Repeat around. Sl st to first sc, ch. 1. (16 total stitches)
Row 7: Dec, sc in next 2 st. Repeat around. Sl st to first sc, ch. 1. (12 total stitches)
Row 8: Dec, sc in next st. Repeat around. Sl st to first sc, ch. 1. (8 total stitches)
Row 9: Dec around. Sl st to first sc. Tie off. (4 total stitches) If needed, you can sl st the opening closed.
Attach white yarn to other side and repeat rows 1-9 for the other leg.


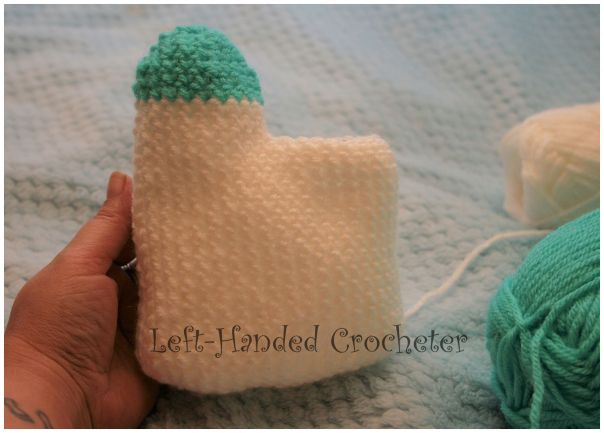
You can stuff the body with poly-fil before making the 2nd leg if you’d like, but I just stuff it when I’m done with the legs using the hole that is in between them. Then I use some yarn and a yarn needle to sew the hole closed.


And now you have the finished body.

Arms:
With blue yarn, ch 3. Sl st to first ch to create circle. (Instead, you can perform the “magic circle” if you’d like.)
Row 1: ch 1, 10 sc inside of circle. Sl st to first sc, ch 1. (10 total stitches)
Row 2: Inc, sc in next st. Repeat around. Sl st to first sc, ch 1. (15 total stitches)
Row 3: Inc, sc in next 2 st. Repeat around. Sl st to first sc, ch 1. (20 total stitches)
Row 4: Dec, sc in next 2 st. Repeat around. Sl st to first sc, ch. 1. (15 total stitches)
Row 5: Sc around. Sl st to first sc, ch. 1. (15 total stitches)
Row 6: Switch to white. Sc around. Sl st to first sc, ch. 1. (15 total stitches)
Row 7: Dec, sc in next st. Repeat around. Sl st to first sc, ch. 1. (10 total stitches)
Row 8-13: Sc around. Sl st to first sc, ch. 1. Tie off at the end. Stuff with poly-pil and sew onto each side of body.
Face:
With blue yarn, ch. 9
Row 1-8: Sc across, ch. 1, turn. (8 total stitches)
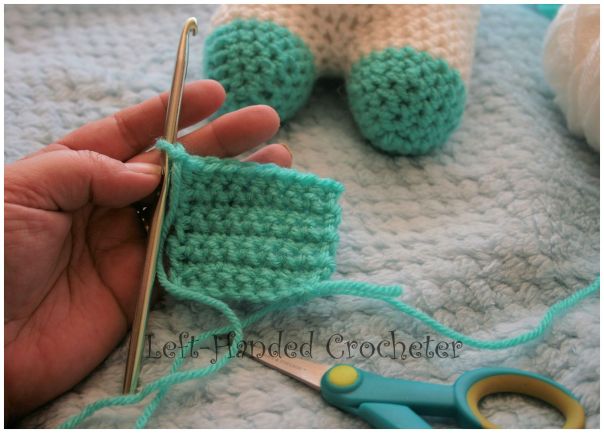
Now work around the square. 3 sc in first st (on top), sc in next 6 st, 3 sc in last st. Turn and work 7 sc in the side. Turn and work 3 sc in first ch (on bottom), sc in next 6 ch, 3 sc in last ch. Turn and work 7 sc in the side. You should have 38 total sc’s around the square. Sl st to first sc, tie off.


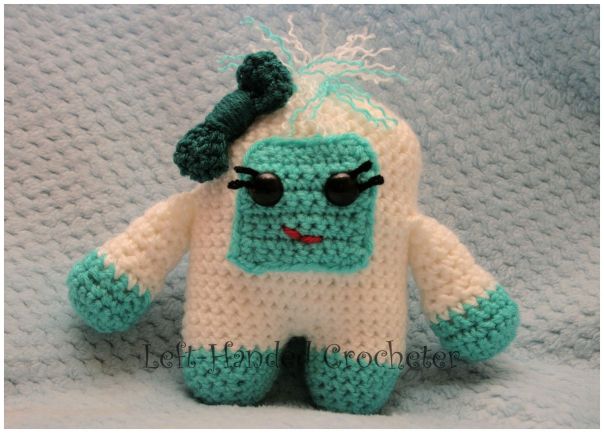
Add eyes and sew on mouth. I added felt underneath the safety eyes on some of them to make them look different. Now, using your yarn needle and blue yarn, position and sew the face onto the body.


For Betty the Yeti, I also added some “hair” on the top of her head and pulled the threads apart to make it curly. I made her a quick bow and attached it to her head too.
Originally, when I had the idea to make a yeti, I bought Bernat Pipsqueak yarn in white and Loops and Threads Snuggly Wuggly yarn in cobalt, because I wanted to make it really soft and furry. I realized, though, that for creating the pattern I needed a yarn that I could see the stitches. If you’ve never worked with Pipsqueak yarn before, let me tell you, it’s a bit of a pain because you can’t see any of the stitches. Once I had the pattern written up, though, it was pretty easy to make another yeti using my original yarn. So here is Freddy the Yeti. (He’s my favorite, but don’t tell the others.)
I’m really happy with the way these turned out, and I hope you enjoy making them too. If there are any mistakes in this pattern, or something is unclear, please feel free to leave me a comment and let me know. Or message me on Facebook, because I’m there much more often. If you create any yetis of your own, be sure to post a photo on my Facebook page so I can see. I’m excited to see what kind of faces you guys put on these. Oh, and as always, you’re free to make items from my patterns and sell them, as long as you don’t post the actual pattern anywhere. (Links back to my page are always acceptable.)


Love, love, love it. Now I gotta hurry up and finish my giant orange squishy octopus so I can make some of these guys
This is to cute
Oh how cute!
Many greetings from snowfree Virginia, ivonne