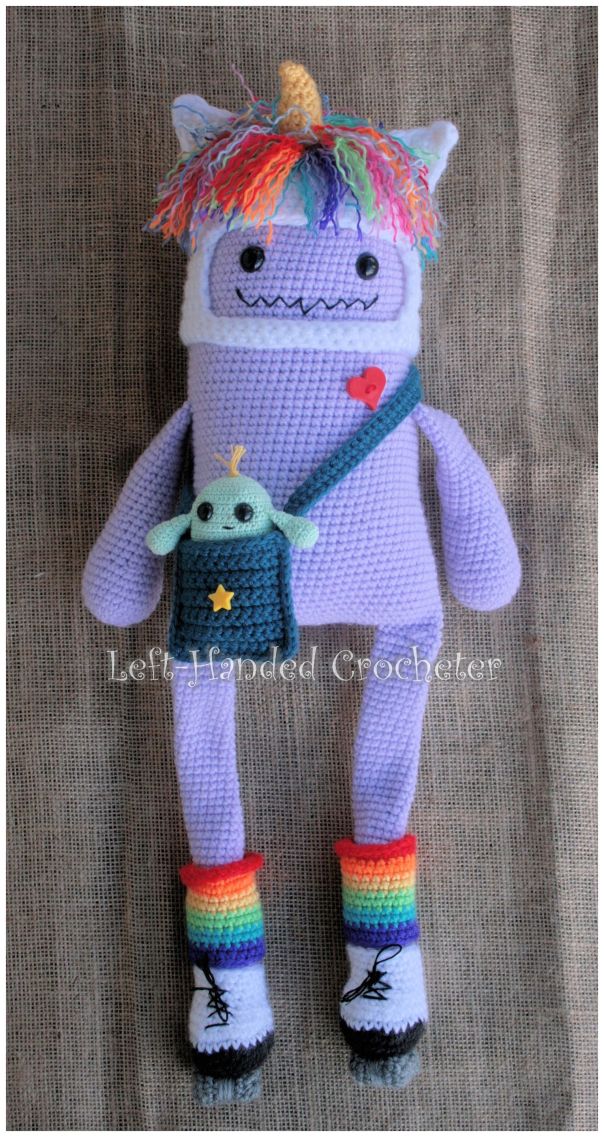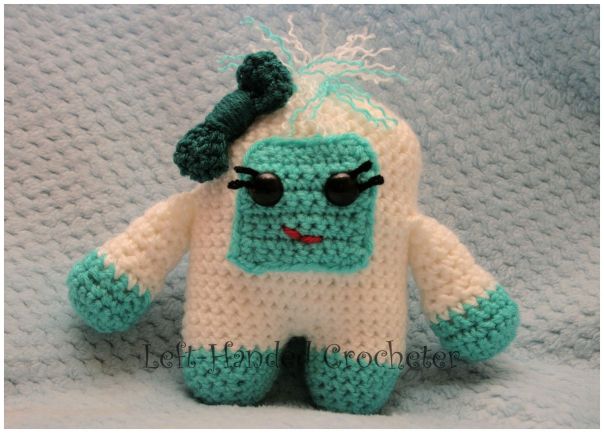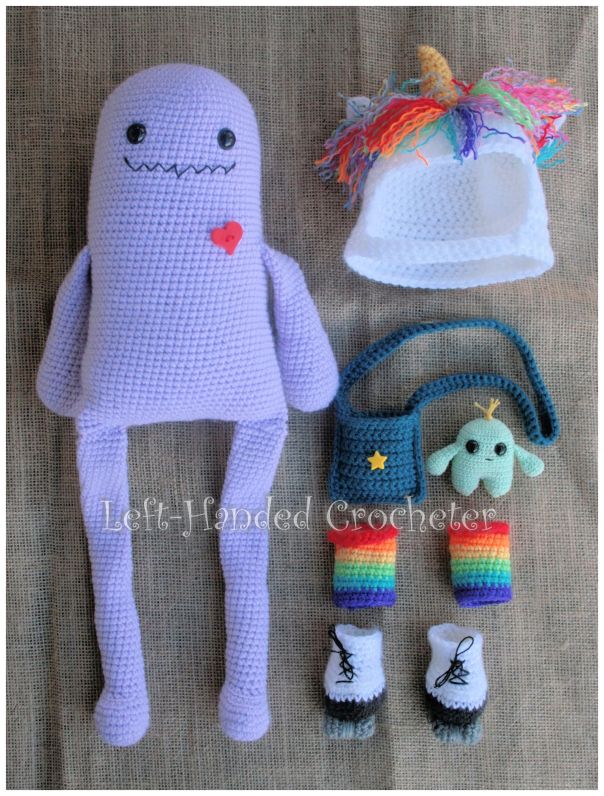
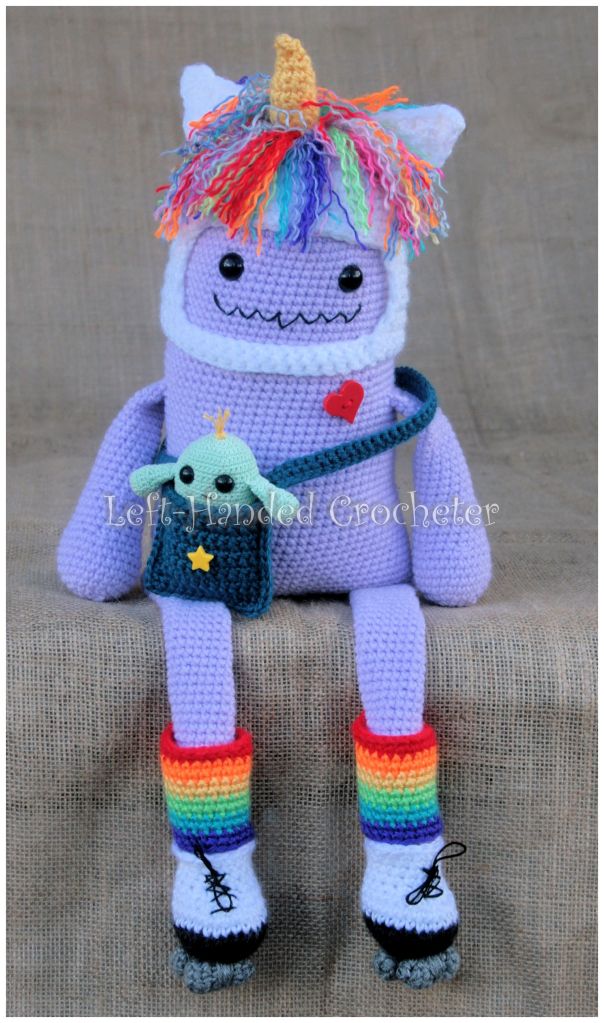
If you haven’t made Gunther yet, click on his name there and you’ll find the pattern for him. This post has the patterns for his accessories, although I didn’t get pictures while I was making them, so hopefully nobody will have problems following the patterns.
I was going to split this up into 2 or 3 posts, and post them throughout this week, but it’s been pretty hectic around here. I decided it would be easier to just sit here this evening and type up each of the patterns at once. If you like Gunther, and his awesome accessories, go check out Camp Happy Heart Fibre Arts on Facebook. She’s the one who came up with him and knitted him. This is my crocheted version.
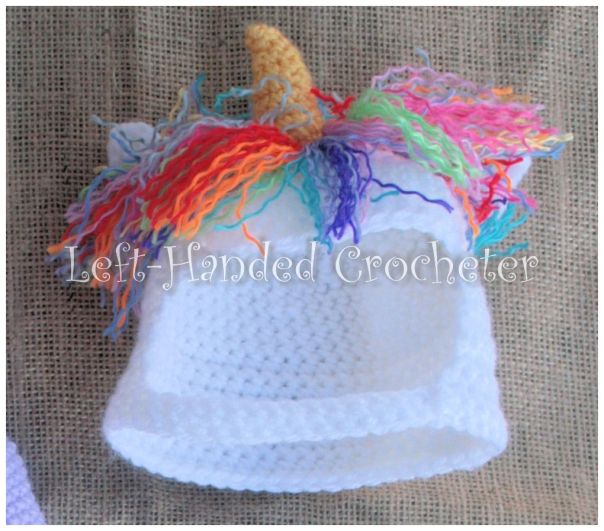
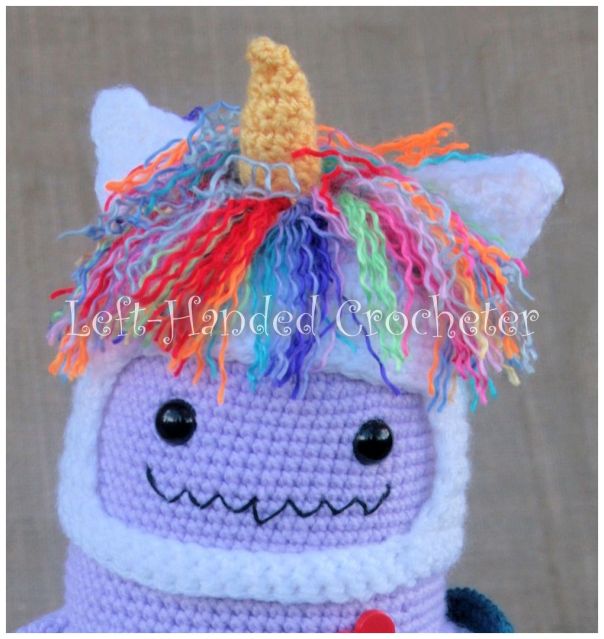
Unicorn Hat
Abbreviations:
ch: chain
sc: single crochet
inc: increase (2 single crochets in one loop)
dec: decrease (pull yarn through loop, pull yarn through second loop, yarn over and pull through all loops)
Materials needed (with affiliate links):
Lion’s Brand Vanna yarn in white. Caron Simply Soft in multiple colors for the rainbow, and yellow for the horn.
This pattern is worked “in-the-round”, and stitches are worked through both loops unless otherwise noted.
Hat
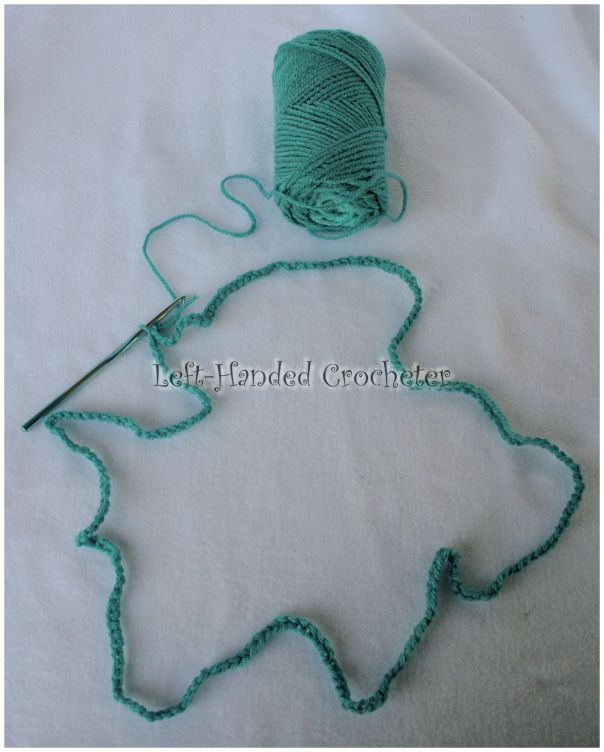
With white and using J crochet hook, ch 3. Sl st to first ch to create circle. (Instead, you can perform the “magic circle” if you’d like.)
Row 1: ch 1, 10 sc inside of circle. (10 stitches)
Row 2: *Inc in first stitch, sc in next stitch , repeat from * around. (15 stitches)
Row 3: *Inc in first stitch, sc in next 2 stitches, repeat from * around. (20 stitches)
Row 4: *Inc in first stitch, sc in next 3 stitches, repeat from * around. (25 stitches)
Row 5: *Inc in first stitch, sc in next 4 stitches, repeat from * around. (30 stitches)
Row 6: *Inc in first stitch, sc in next 5 stitches, repeat from * around. (35 stitches)
Row 7: *Inc in first stitch, sc in next 6 stitches, repeat from * around. (40 stitches)
Row 8: *Inc in first stitch, sc in next 7 stitches, repeat from * around. (45 stitches)
Rows 9-12: Sc in each stitch around. (45 stitches)
Row 13: Sc in next 32 stitches, leaving last 13 stitches unworked. Ch 1, turn. (32 stitches)
Rows 14-20: Sc across, ch 1, turn. (32 stitches)
Row 21: Sc across, ch 15, sl st to first sc.
Row 22: Sc in each stitch around, working 15 sc’s into ch 15 space. (47 stitches)
Row 23: Continuing working in the round, sc in each stitch around. (47 stitches)
Tie off.
Ears
With white and using H crochet hook, ch. 7
Rows 1-3: Sc in second ch from hook and in each stitch across, ch 1, turn. (6 stitches)
Row 4: Dec in first 2 stitches, sc in next 2 stitches, dec in last 2 stitches, ch 1, turn. (4 stitches)
Row 5: Sc in each stitch across, ch 1, turn. (4 stitches)
Row 6: Dec in first 2 stitches, dec in last 2 stitches, ch 1, turn. (2 stitches)
Row 7: Sc in each stitch across, ch 1, turn. (2 stitches)
Row 8: Dec. (1 stitch)
Tie off.
Make two of these, but with the second one, don’t tie off. Hold both pieces together and crochet around them, being sure to keep the shape of the ear. When you get back to the beginning, sl st into first sc and tie off.
Make two ears. Using yarn and your yarn needle, position and sew ears onto hat.
Horn
Using yellow (Simply Soft) yarn and F crochet hook, ch 10. Sl st to first ch to create a loop.
Rows 1-5: Sc in each stitch around. (10 stitches)
Row 6: *Dec in first 2 stitches, sc in each of the next 2 stitches. Repeat from * around, dec in last 2 stitches. (7 stitches)
Row 7: Sc in each stitch around. (7 stitches)
Row 8: *Dec in first 2 stitches, sc in next stitch. Repeat from * around, sc in each of last 2 stitches. (5 stitches)
Row 9: Sc in each stitch around. (5 stitches)
Row 10: Dec in first 2 stitches, sc in next stitch, dec in last 2 stitches. (3 stitches). Sl st to first stitch, tie off.
Stuff horn and sew onto center of hat. Using the other colors of Simply Soft, attach yarn to hat. You can decide on the length that you’d like. After I had the main attached, I went through and pulled each piece apart to make it a bit more wild.
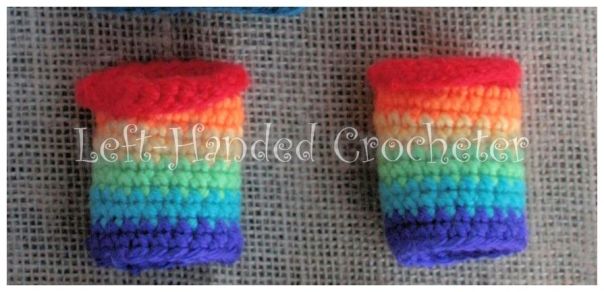
Leg Warmers
Materials needed (with affiliate links):
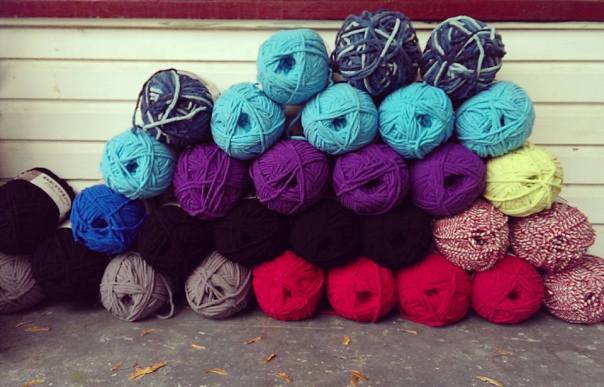
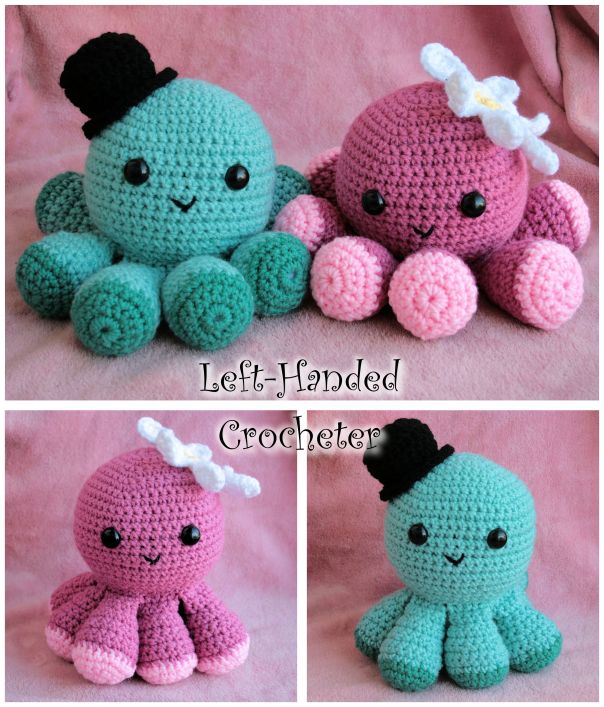
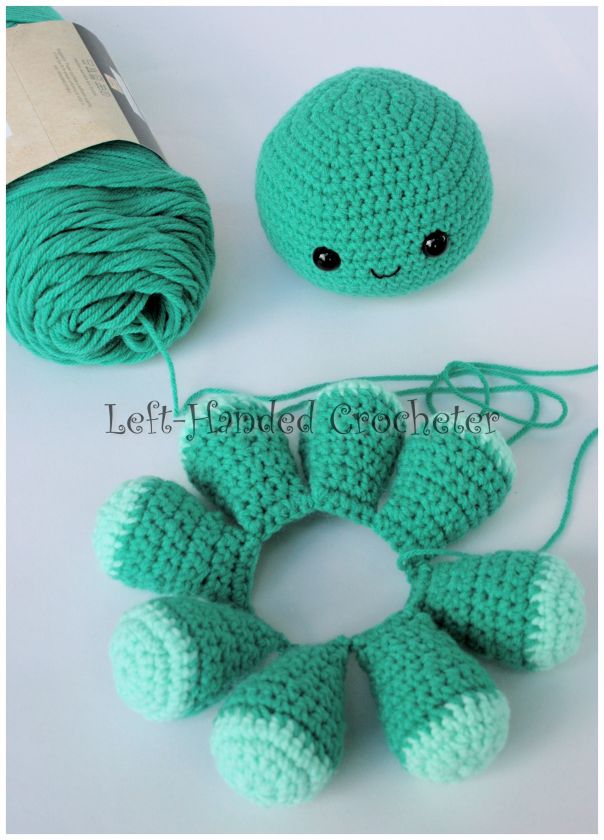
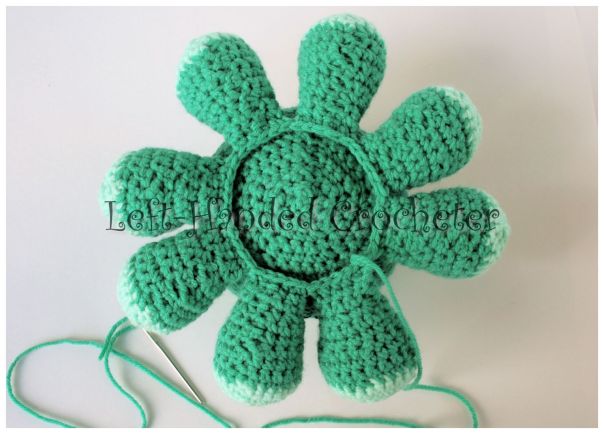
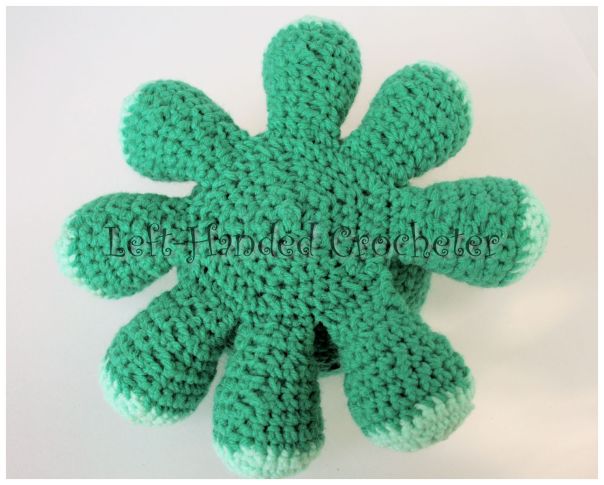
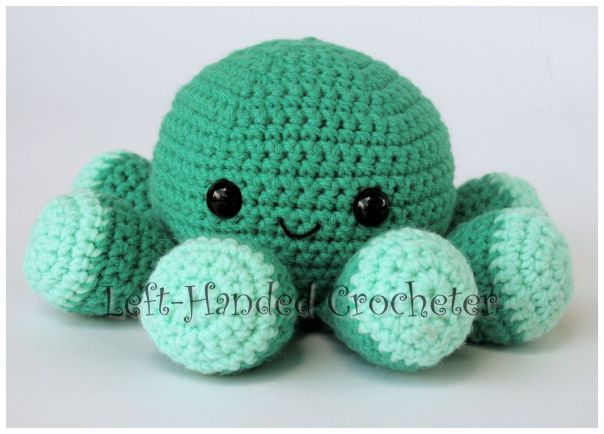
Caron Simply Soft yarn in rainbow colors. You can choose the colors that you want here. I used 6 different colors that I happened to have here already because I used them for an octopus that I made.
Using purple and your F hook, ch. 20. Sl st to first ch to form a loop.
Row 1: Sc in second chain from hook and in each ch around. (20 stitches)
Rows 2-12: Sc in each stitch around. (20 stitches) Tie off.
I did 2 rows of each color.
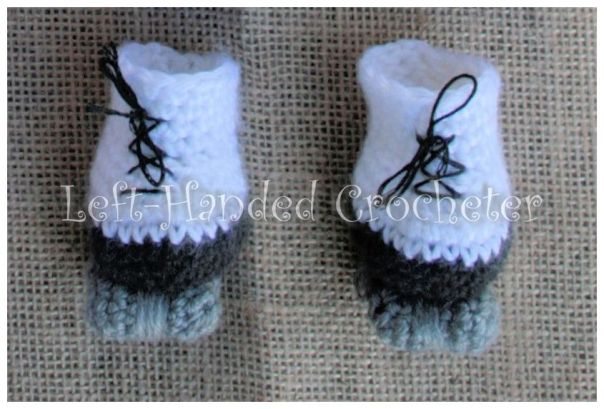
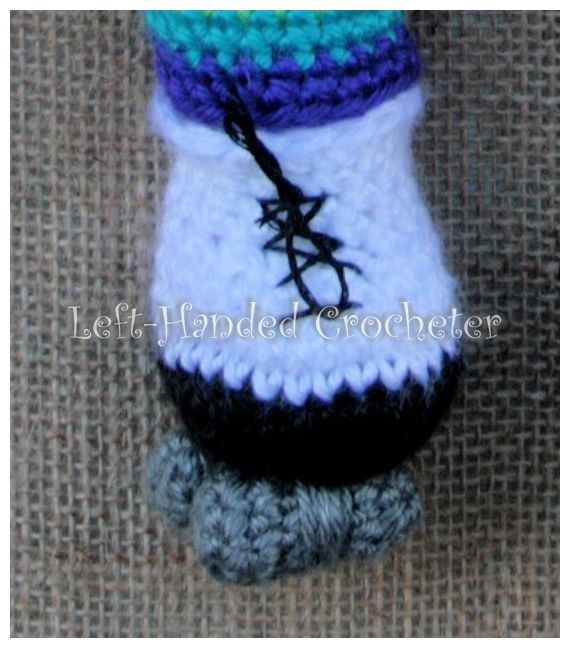
Roller Skates
Materials needed (with affiliate links):
Caron Simply Soft yarn in black, white and grey.
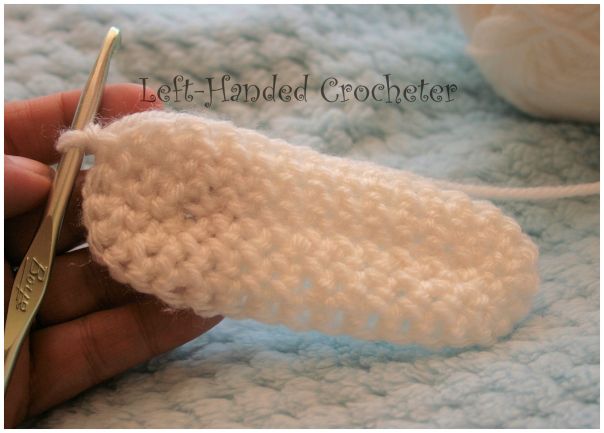
Skate
Using black yarn and H hook, ch 3. Sl st to first ch to create circle. (Instead, you can perform the “magic circle” if you’d like.)
Row 1: ch 1, 10 sc inside of circle. (10 stitches)
Row 2: *Inc in first stitch, sc in next stitch , repeat from * around. (15 stitches)
Row 3: *Inc in first stitch, sc in next 2 stitches, repeat from * around. (20 stitches)
Row 4: *Inc in first stitch, sc in next 3 stitches, repeat from * around. (25 stitches)
Row 5: *Inc in first stitch, sc in next 4 stitches, repeat from * around. (30 stitches)
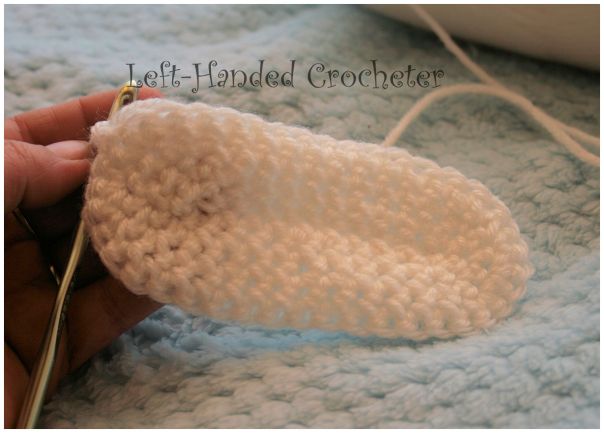
Row 6: Switch to white. *Dec in first 2 stitches, sc in next 4 stitches, repeat from * around. (25 stitches)
Row 7: Sc in each stitch around. (25 stitches)
Row 8: 7 sc, dec, dec, dec, dec, dec, 8 sc. (20 stitches)
Row 9: 5 sc, dec, dec, dec, dec, dec, 5 sc. (15 stitches)
Rows 10-13: Sc in each stitch around. (15 stitches) Tie off.
Wheels
Using grey yarn and F hook, ch 3. Sl st to first ch to create circle. (Instead, you can perform the “magic circle” if you’d like.)
Row 1: ch 1, 8 sc inside of circle. (8 stitches)
Rows 2-6: Sc in each stitch around. (8 stitches)
Row 7: Stuff with poly-fil. Dec around. (4 stitches) You can tie off, or, if it’s not closed all the way, drop a sl st into the middle to close.
Make 4 wheels. Wrap yarn around the middle of each wheel. Sew wheels onto the bottom of the skates. I used hot glue and glued mine on. Using yarn needle and embroidery thread, “lace” each skate and tie a bow at the top.
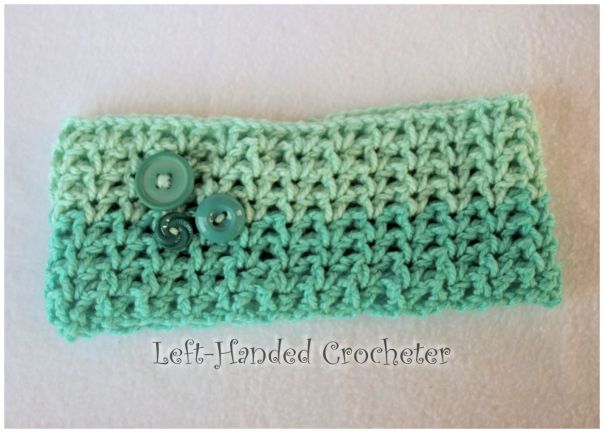
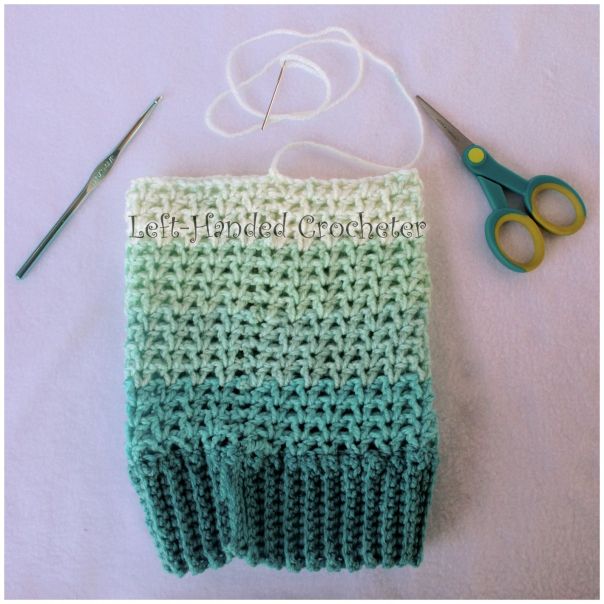
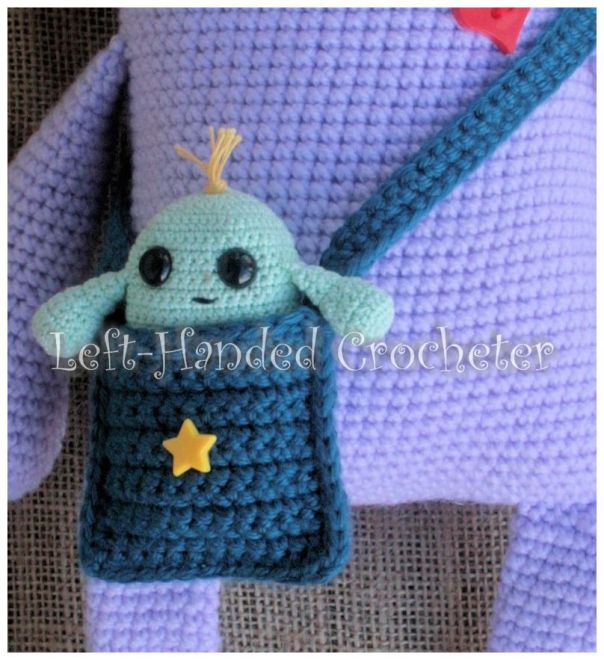
Shoulder Bag
Materials needed (with affiliate links):
Caron Simply Soft yarn. I used ocean, but you can make it any color you want.
Star button (This is optional. You don’t have to put a button on it, or you could use a different button if you want to.)
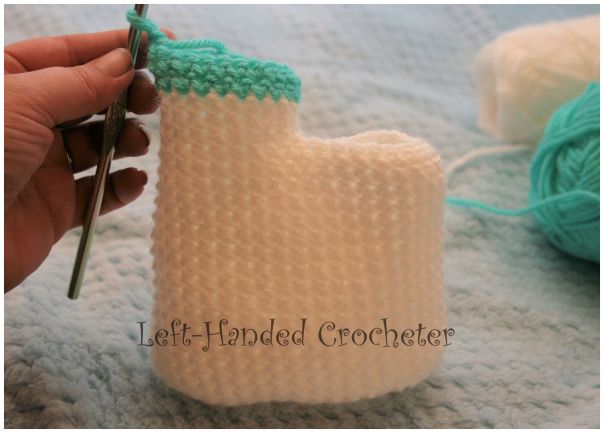
Bag
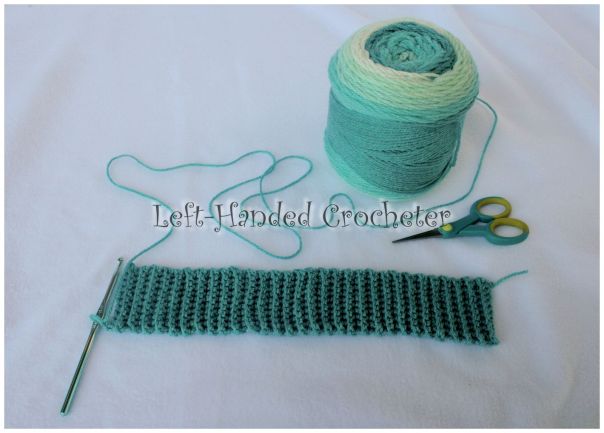
Ch 13
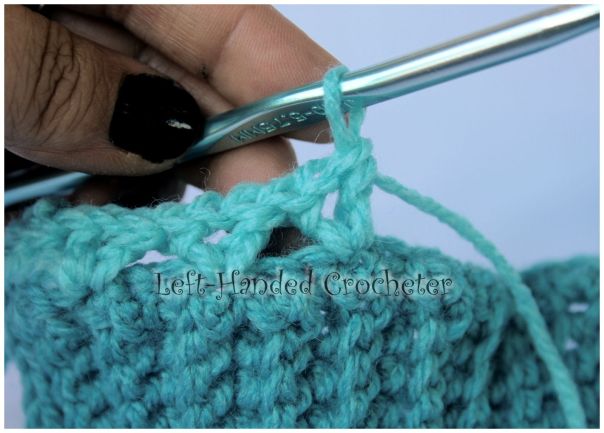
Row 1: Sc in second ch from hook and in each ch across, ch 1, turn. (12 stitches)
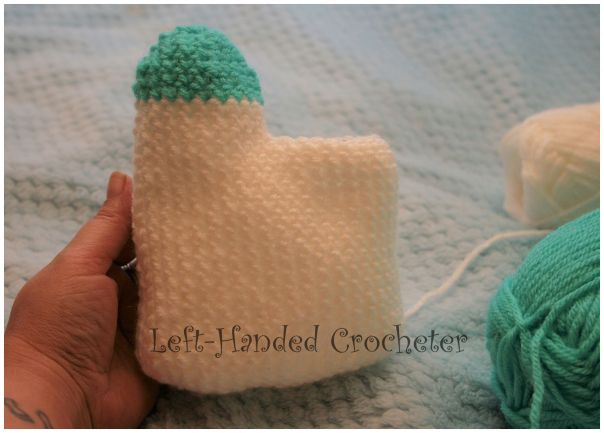
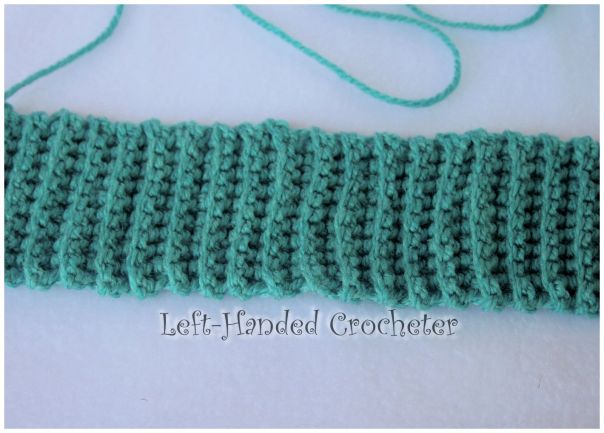
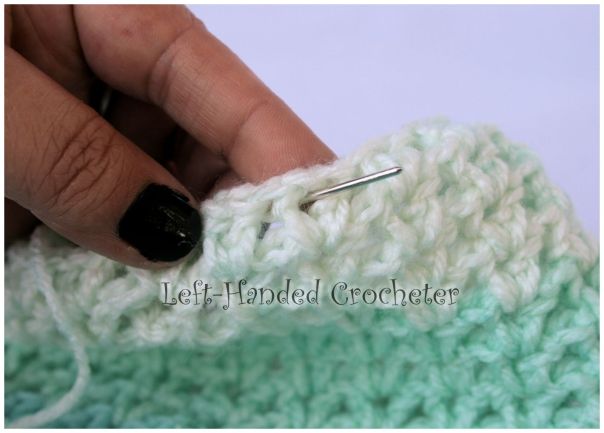
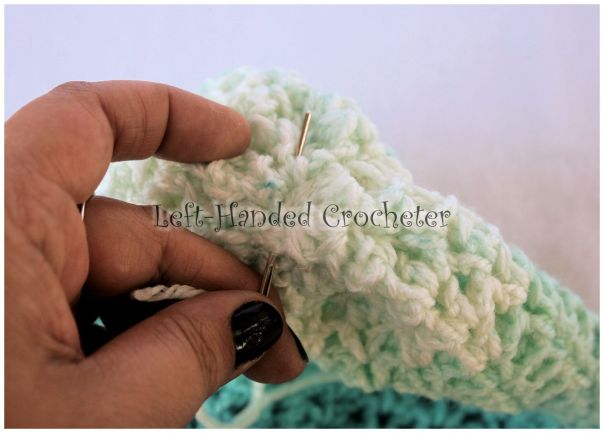
Rows 2-24: Sc in each stitch across, ch 1, turn. (12 stitches) At the end of row 24, tie off. Fold in half and sew sides together. I attached a loop and sc’ed the sides together and across the bottom.
Handle
Ch 66
Row 1: Sc in second ch from hook and in each ch across, ch 1, turn. (65 stitches)
Row 2: Sc in each stitch across. Tie off. Using yarn needle, sew straps inside of bag. Attach button to the front of the bag.
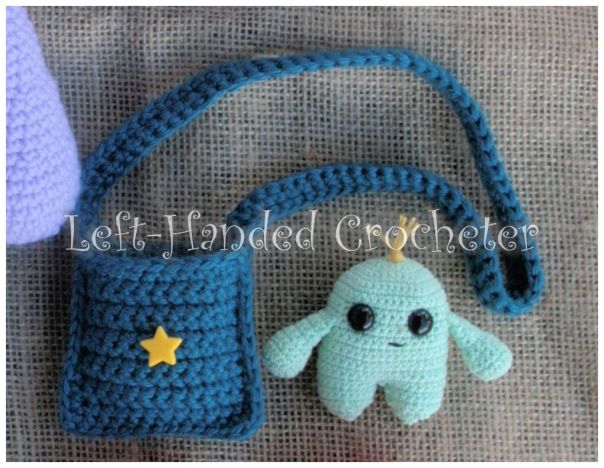
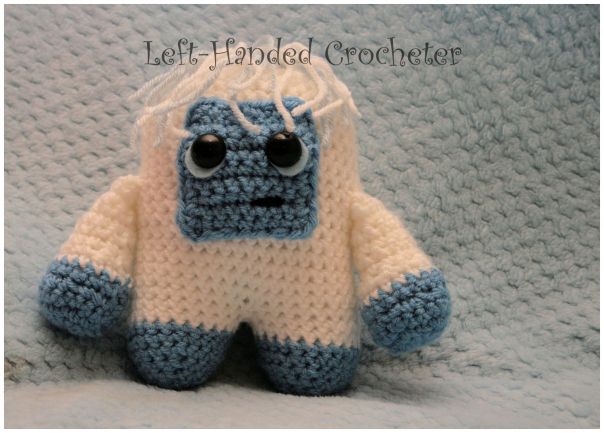
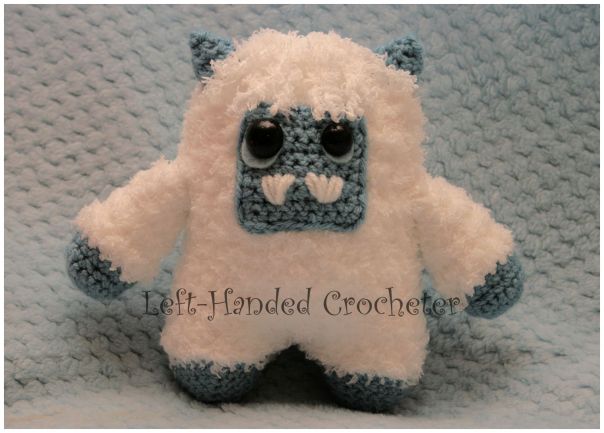
For the monster inside of his bag, I used a 1.5mm crochet hook, Aunt Lydia’s crochet thread, 10mm safety eyes, and the pattern for my Yeti. I wanted him to stick out of the bag, and he was a bit short, so I put some poly-fil in there with him. You can crochet a monster for inside of the bag, or crochet something completely different if you’d like.
I hope you enjoy these patterns! I had a lot of interruptions while writing these out, with thunderstorms and 7 other people in my house, so if there are any mistakes, or something is unclear, please feel free to leave me a comment and let me know. Or message me on Facebook. If you create any monsters of your own, be sure to post a photo on my Facebook page so I can see. I love seeing all of the things people are creating, and I’d love to see the different variations that people make of these. And don’t forget to check out Camp Happy Heart Fibre Arts on Facebook to see all of the other wonderful creations she’s made.